- Jh123x: Blog, Code, Fun and everything in between./
- My Blog Posts and Stories/
- Proxmox: How to Upload an ISO/
Proxmox: How to Upload an ISO
Table of Contents
Introduction #
In this post, we will go through the steps to upload an ISO onto your Proxmox server and make it available for use in your Proxmox VMs.
Step 1: Login to Proxmox #
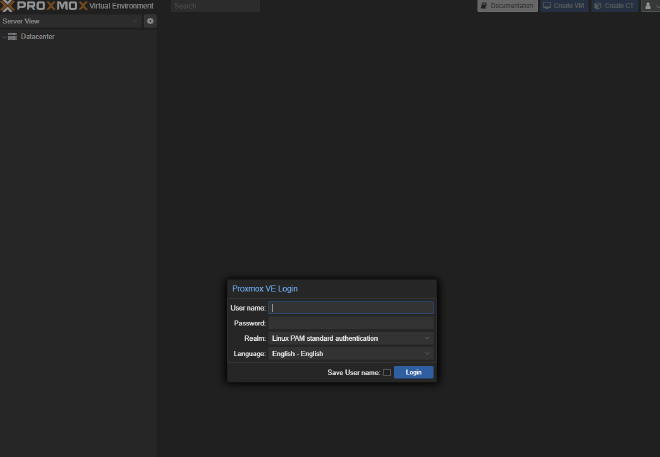
Key in your username and password into the login page and click on the “Login” button.
Step 2: Click on your desired Cluster or Node #
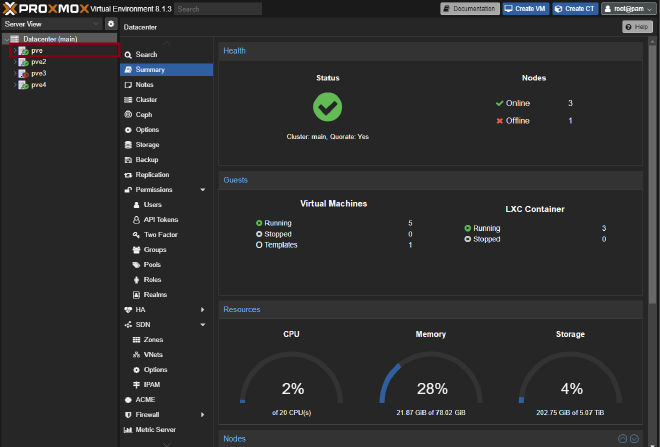
Click on your desired cluster that you want to upload the ISO to.
Step 3: Click on the Local tab #
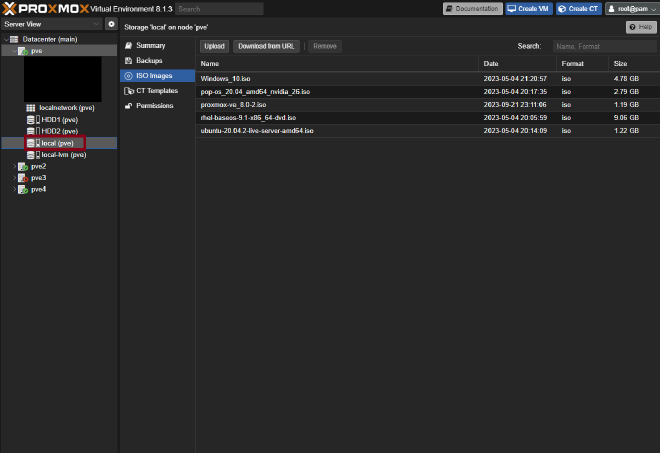
Click on any of your Storage Options listed on the left-hand side of the page.
local or local-lvm.Under the ISO Images section, click on the Upload Button.
Step 4: Uploading your ISO #
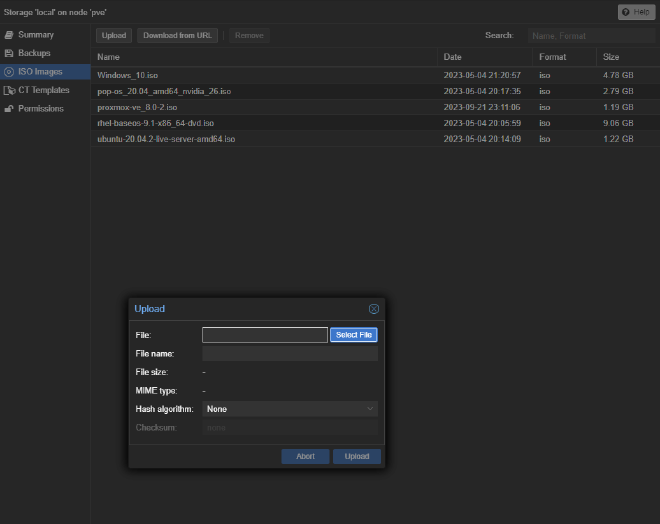
- A window should pop up, allowing you to select the ISO file that you want to upload.
- Click on the Select File button and select the ISO file that you want to upload.
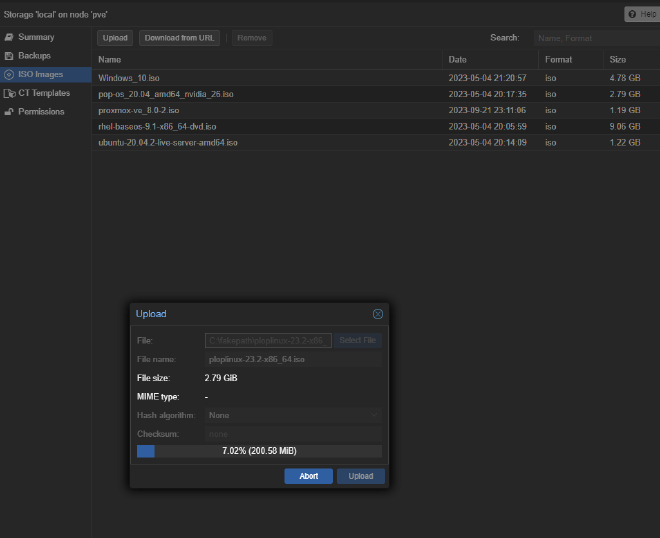
Wait for the upload process to complete
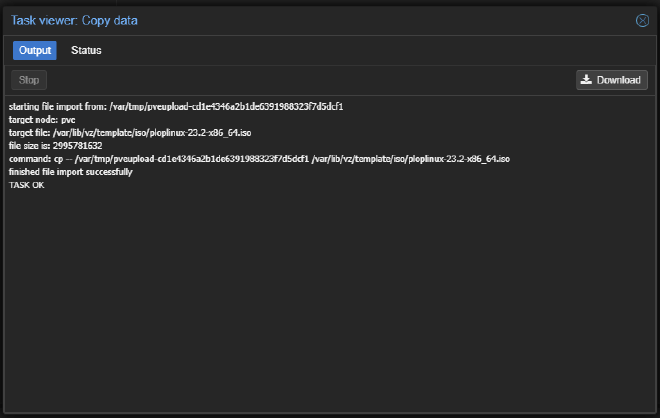
Once the upload is completed, you should be able to see the ISO file listed under the ISO Images section.
Step 5: Using the ISO in your VM #
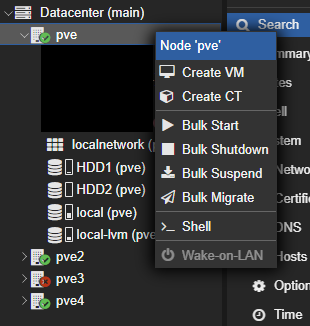
Right-click on the VM that you want to use the ISO with and click on Create VM.
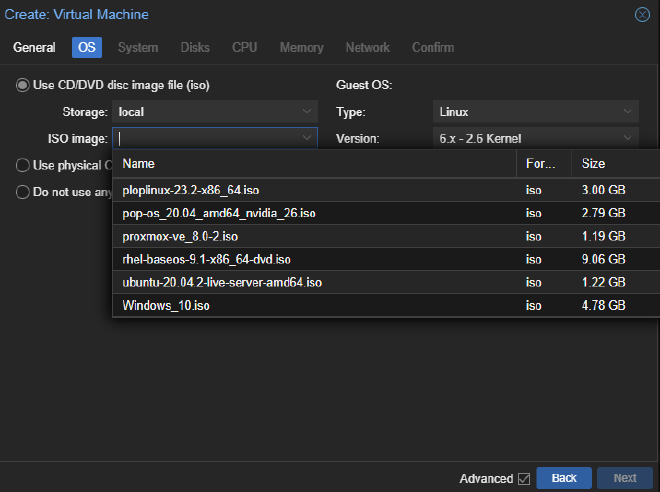
Click on the ISO Image option and select the ISO file that you have uploaded. Continue with the rest of the VM creation process as per normal.
Step 6: Boot into your VM #
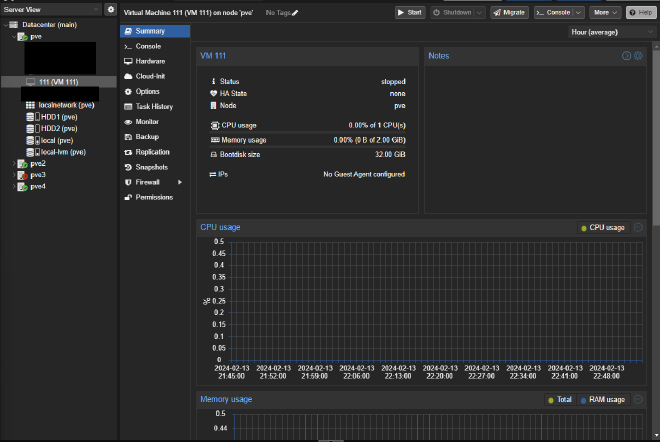
Select the VM and click on the start button to boot into your VM.
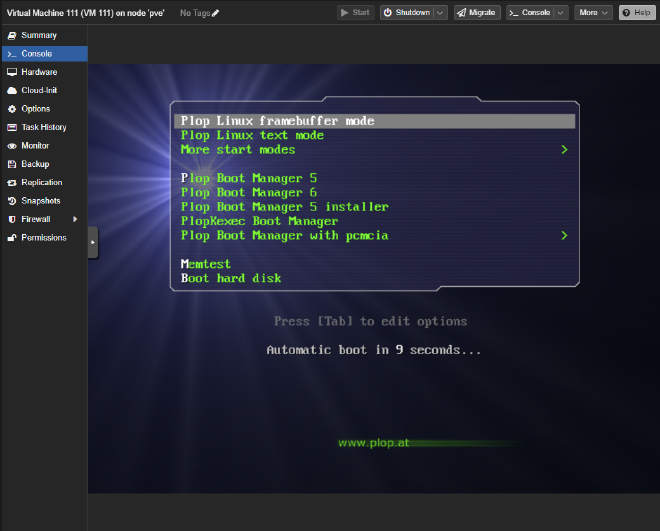
Suggestions #
After you completed the installation process, I will recommend the following:
- Update your VM software
- Converting your VM into a template
By converting your VM into a template, you can easily create new VMs with the same configuration as your current VM without going through the setup process and installing software upgrades again.
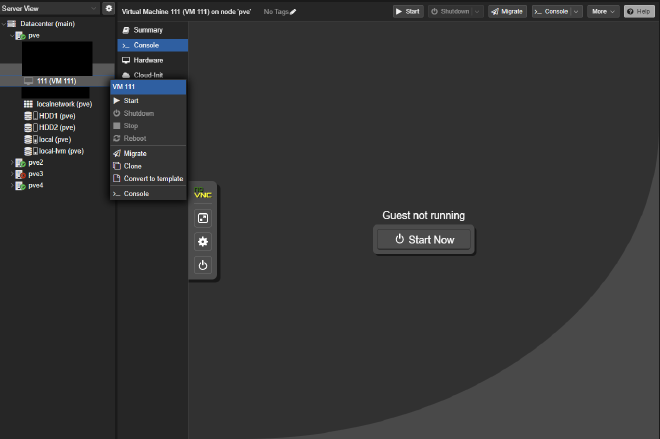
Right-click on your VM and click on Convert to Template.
Note: You will not be able to edit the template after it is converted. Please ensure that you have completed all the necessary updates and software installations before converting it into a template.
In the worst case, you can clone the VM and convert the clone into a template again.
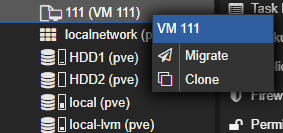
To use the templates, right click on the template that you have created and click on clone.
This will create another VM based on the template with all the updates and software you have installed above.
Conclusion #
In this post, we have gone through the steps to upload an ISO onto your Proxmox server and make it available for use in your Proxmox VMs.
Stay tuned for more Home lab related posts!