Home lab: Traefik
Table of Contents
This is part of my home lab series. In today’s blog post, I will be writing about how to set up Traefik.
What is Traefik? #
Traefik is a reverse proxy and load balancer. It allows you to route traffic to different services based on the domain name.
It is similar to Nginx and Apache, but it is much easier to configure if you are running a docker environment.
Why Traefik? #
The main reason I am using this is because it is easy to configure and it has a dashboard which allows you to see the different services that are running.
I can also set the different configurations in my containers instead of having to consolidate them in 1 file which I have to maintain.
An Example #
If I have a container running a web server, I can set the domain name in the container instead of having to set it in the Traefik configuration file.
Traefik will pick up the config and route the traffic to the container based on the configured domain name.
Prerequisites #
These are the software which you are expected to have:
- Some clustering technology
- Docker / Kubernetes / AWS / Mesos
- In this tutorial, I will be using Docker.
- A local DNS to configure your DNS entry
Setting up Traefik #
In this example, I have the following setup
Proxmoxat192.168.12.101that runshttpson port8006.- A static website as a docker container.
- Running the
.localdomaindomain in my network
If you have a domain from cloudflare want to use signed certificates, I will recommend the following.
- Choose a
*.x.domaindomain name. EG:*.internal.jh123x.com - Create a wildcard
CNAMErecord that points to your Traefik server.- It can also be an internal IP address like
192.168.12.10.
- It can also be an internal IP address like
- Add the cloudflare configs provided below.
Step 1: Create a traefik.yml file #
You can also set these settings in docker itself using the command line itself. However, as there are a lot of configs, I prefer to use a file to store it.
This file will be read by Traefik later on to configure itself.
global:
  checkNewVersion: true

entryPoints:
  # Listen to http traffic
  web:
    address: :80

  # Listen to https traffic
  websecure:
    address: :443

################################################################
# Traefik logs configuration
################################################################

log:
  level: "INFO"
accessLog:
  filePath: /access

################################################################
# API and dashboard configuration
################################################################

api:
  # Enable the API in insecure mode
  insecure: false

  # Enabled Dashboard (To view stats)
  dashboard: true

################################################################
# Docker configuration backend
################################################################

providers:
  docker:
    # This supplies the docker containers to traefik to proxy
    defaultRule: Host(`{{ normalize .Name }}.localdomain`)
    exposedByDefault: false

    # The docker socket to connect to
    endpoint: "unix:///var/run/docker.sock"
    useBindPortIP: false

    # This is the network that traefik uses to proxy the network traffic.
    network: "traefik-proxy"
    watch: true
  file:
    # Location for the config file used in the next step
    # This can be any dir but you need to update it later in the docker step (step 3)
    directory: /config/
    watch: true

serversTransport:
  # This is required if you are using self-signed certificates.
  insecureSkipVerify: true
If you are looking to use cloudflare as your DNS Provider, you will need to change the following.
- Change the line with
defaultRuletodefaultRule: Host(`{{ normalize .Name }}.<hostname>`)EG:defaultRule: Host(`{{ normalize .Name }}.internal.jh123x.com`) - Add the following to the
traefik.ymlfile and replace thecloudflare_email_addresswith your email address.
# Same as above with your cloudflare domain instead of localdomain
---
certificatesResolvers:
  cloudflare:
    acme:
      email: <--cloudflare_email_address-->
      storage: /cloudflare_acme.json
      dnsChallenge:
        provider: cloudflare
        resolvers:
          - "1.1.1.1:53"
          - "1.0.0.1:53"
Step 2: Create a config.yml file #
This file is not compulsory if you do not have other services that you want to proxy.
However, if you are using other services, you can proxy them through traefik using this file.
Similarly, for those who want to use cloudflare, you will need to change the Rule to rule: Host(`proxmox.<hostname>`) EG: rule: Host(`proxmox.internal.jh123x.com`)
http:
  routers:
    proxmox:
      # Choose the domain name that you want to use
      rule: Host(`proxmox.localdomain`)
      service: proxmox

      # Enable https for the traefik proxy
      tls: {}
      middlewares:
        - https-redirect

  services:
    proxmox:
      loadBalancer:
        servers:
          # Use HTTPs if the proxmox server is using HTTPS
          - url: https://192.168.12.101:8006

  middlewares:
    # Middleware to redirect http to https
    https-redirect:
      redirectScheme:
        scheme: https

    # Add default headers for the traffic
    default-headers:
      headers:
        frameDeny: true
        sslRedirect: true
        browserXssFilter: true
        contentTypeNosniff: true
        forceSTSHeader: true
        stsIncludeSubdomains: true
        stsPreload: true
        stsSeconds: 15552000

    # Whitelist to local networks
    home-whitelist:
      ipWhiteList:
        sourceRange:
          - "10.0.0.0/8"
          - "192.168.1.0/24"
          - "172.16.0.0/12"

    # This middleware chains the 2 other middlewares
    secured:
      chain:
        middlewares:
          - default-headers
          - home-whitelist
Step 3: Create a docker network #
You will need to create a docker network for traefik to use to proxy the traffic.
docker network create traefik-proxy
We will have to include the services that we want to proxy to the network that we just created.
Step 4: Add a wildcard DNS entry to your local DNS Provider #
You will need to add a wildcard DNS entry to your local DNS provider. It will look something like this
# A wildcard local dns entry
*.localdomain -> <ip of traefik server>
This may vary depending on what you are using for DNS resolution.
For users using cloudflare, you can add an entry like this

Step 5: Run the traefik docker image #
You can run the traefik container using the following command:
docker run -d -p 443:443 -p 80:80 \
-v $PWD/traefik.yml:/etc/traefik/traefik.yml:ro \                           # The traefik config file
-v $PWD/config.yml:/config/:ro \                                            # The config file for the services that you want to proxy
-v /var/run/docker.sock:/var/run/docker.sock \                              # The docker socket
--network traefik-proxy \                                                   # The network that traefik uses to proxy the traffic

# These settings below are for the dashboard
--label traefik.enable=true \                                               # Enable traefik for this container
--label traefik.http.routers.traefik.tls=true \                             # Enable https for the traefik proxy
--label traefik.http.routers.traefik.rule=Host(`dashboard.localdomain`) \   # The domain name that you want to use for the dashboard
--label traefik.http.routers.traefik.entrypoints=https \                    # The entrypoint for the dashboard
--label traefik.http.routers.traefik.service=api@internal \                 # The service for the dashboard
traefik:v2.5
This will expose the dashboard at dashboard.localdomain when you try to access it.
The labels defined here are basically the same as the config.yml file you see from before, but on a per container basis.
If you are using cloudflare, you will have the add the following arguments to the command above.
-e CF_API_EMAIL=<--cloudflare_email_address--> \                                # EG: xxx@gmail.com
-e CF_API_KEY=<--cloudflare_api_key--> \                                        # EG: xxxxxxxxxxxxxxxxxxxxxxxxxxxxxxxxxxxxxxxx
--label traefik.http.routers.traefik.tls.certresolver=cloudflare \              # EG: cloudflare
--label traefik.http.routers.traefik.tls.domains[0].main="<domain name>" \      # EG: internal.jh123x.com
--label traefik.http.routers.traefik.tls.domains[0].sans="*.<domain name>" \    # EG: *.internal.jh123x.com
If you want to get the cloudflare token, Follow the steps in
Step 6: Docker command for running my web server #
The command for running my web server will have to be different as I need to add the labels for traefik to pick up.
docker run -it --rm -d
--name web \
-v ~/site-content:/usr/share/nginx/html:ro \                                    # The directory that contains the static website
--network traefik-proxy \                                                       # The network that traefik uses to proxy the traffic
--label traefik.enable: "true" \                                                # Enable traefik for this container
--label traefik.http.services.portainer.loadbalancer.server.port=80 \           # The port that the container is running on
--label traefik.http.routers.portainer.rule=Host(`webserver.localdomain`) \     # The domain name that you want to use for the container
--label traefik.http.routers.portainer.tls:=true \                              # Serve the website over https
nginx:latest
If you are using cloudflare, you just have to define your domain name to use the cloudflare domain name. EG:
--label traefik.http.routers.portainer.rule=Host(`webserver.<domain name>`) \ # EG: webserver.internal.jh123x.com
Results #
After setting up your traefik container, you should be able to access the dashboard at dashboard.localdomain.
Go to the dashboard and you should be able to see the different services that are running.
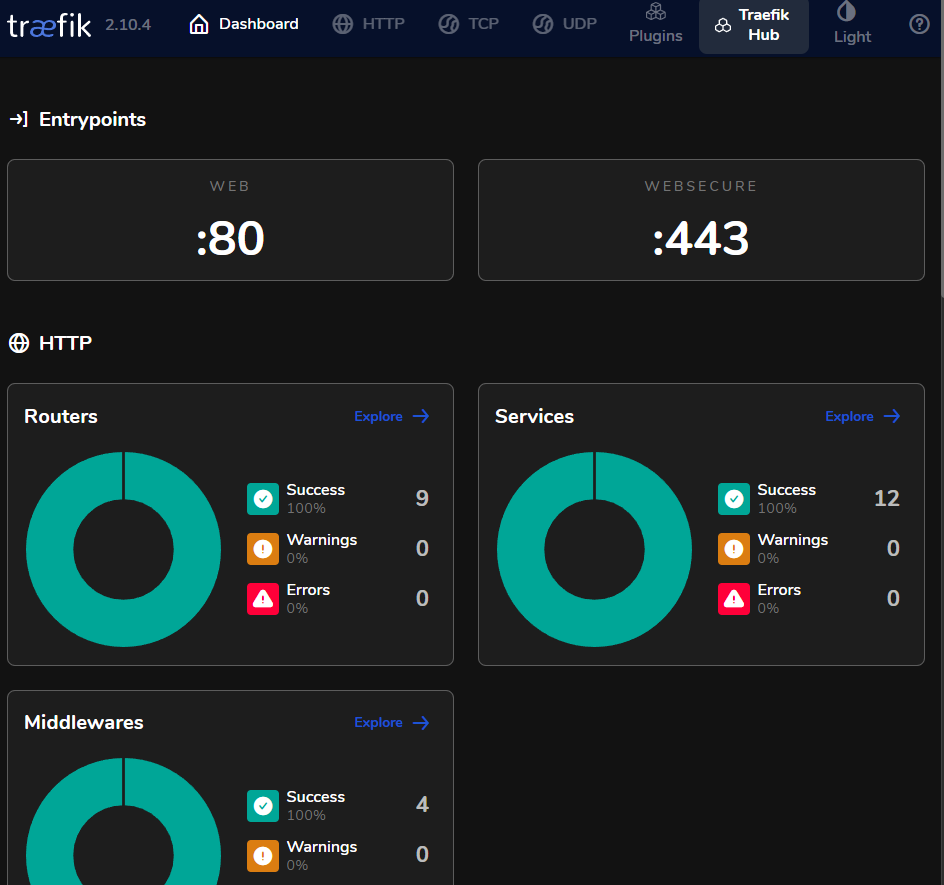
The numbers might be a little different but you will be able to see what traefik has picked up and whether those services are accessible from traefik.
With this setup, you can now access your different services using the domain name that you have configured.
Appendix: Getting my cloudflare API key. #
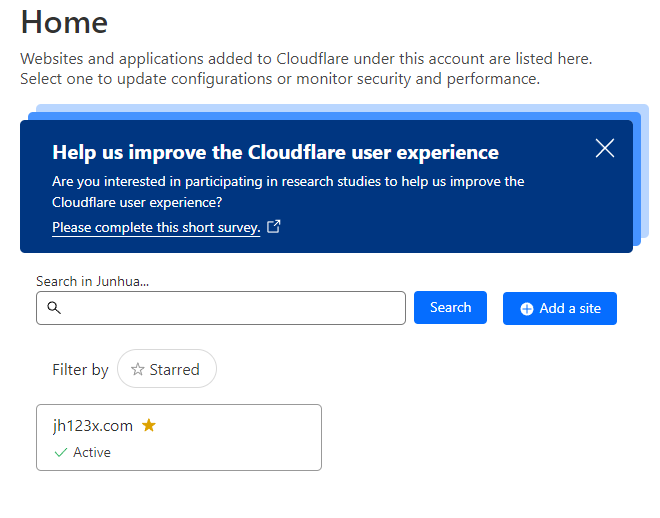
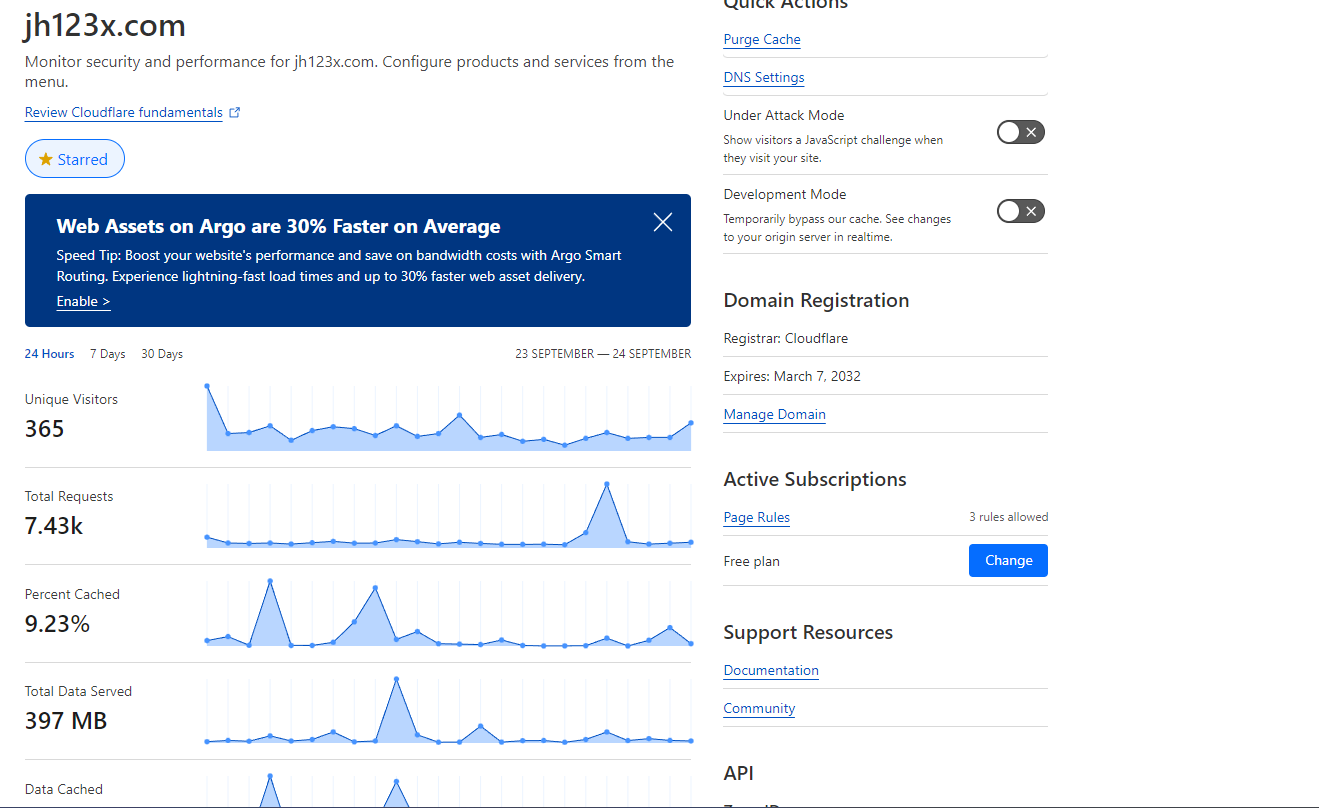
Go to your cloudflare dashboard and log in.
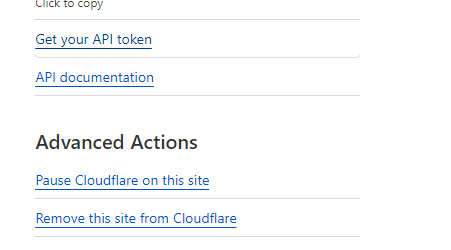
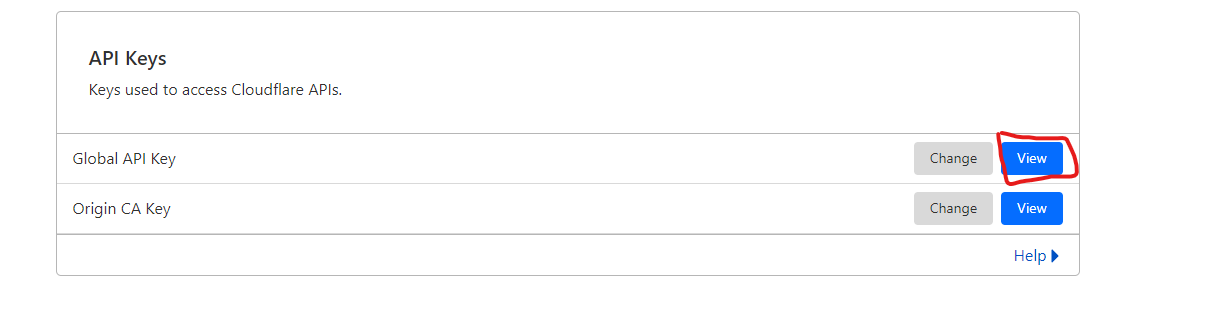
That is the API key that you will have to include in the docker command in this step