- Jh123x: Blog, Code, Fun and everything in between./
- My Blog Posts and Stories/
- Home lab: Setting Up Proxmox/
Home lab: Setting Up Proxmox
Table of Contents
As part of my home lab series, I will be writing a series of blog posts on how to set up different home lab components. In today’s blog post, I will be writing about how to setup Proxmox.
What is Proxmox? #
Proxmox is a hypervisor that allows you to run virtual machines and containers. You can think of it as a VM manager.
It contains many features, listed below (non-exhaustive):
- Host different operating systems.
- Managing VMs on different machines (clustering).
- High availability VMs
- Backups and snapshots of VMs
- Creating templates from images
- Live migration of VMs across machines without downtime
- Role-based access control
- Bridged networking
- Ceph Software defined storage
- IPv4 and IPv6 Firewalls
- And many more…
To see the full list of features, visit their website.
Setting up Proxmox #
Step 1: Download the ISO File #
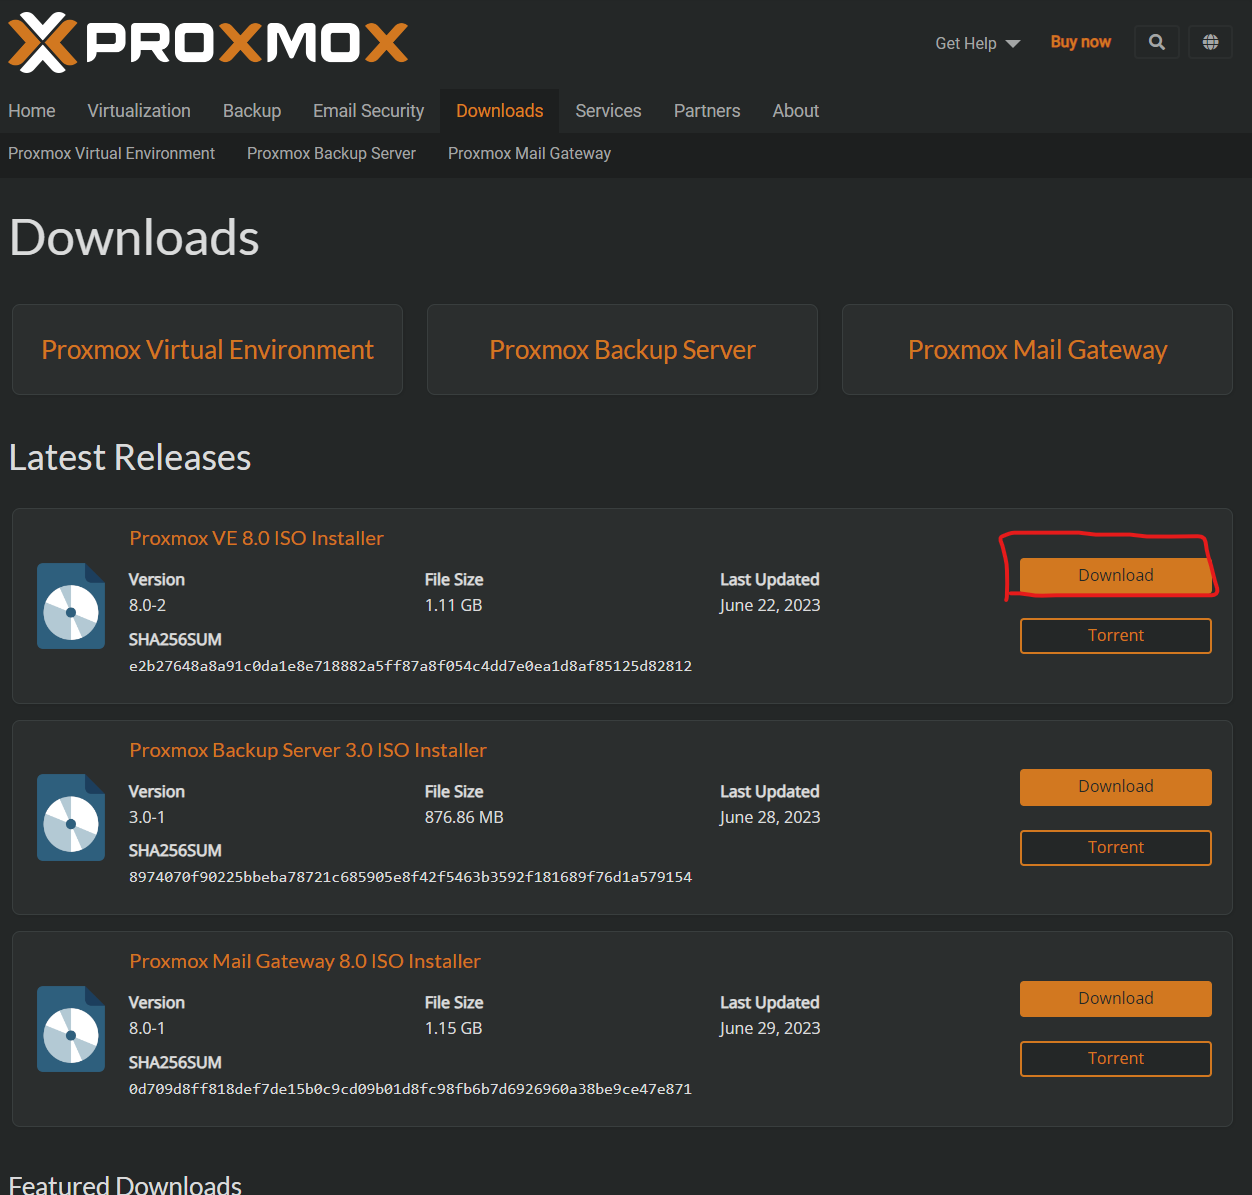
Go to their website and download the ISO file.
Step 2: Burn it into a USB device #
There are many software which enables us to do this. In this tutorial, I will be using Rufus.
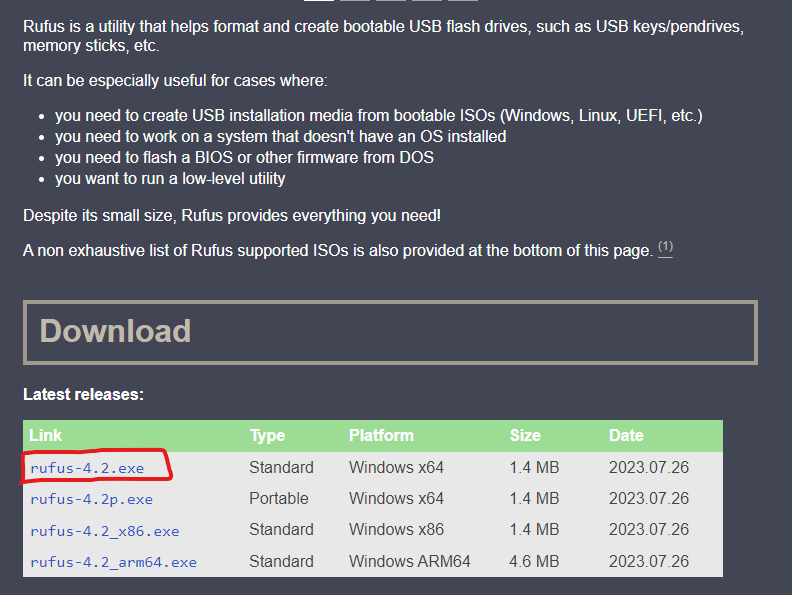
- Download Rufus.
- Plug in your USB device.
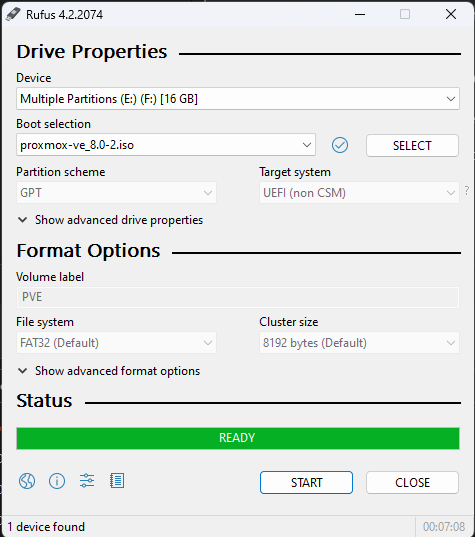
- Select your USB device in Rufus.
- Select the ISO file that you downloaded in step 1.
- Leave the rest of the options at default.
- Click on Start and wait for it to finish.
Alternatives:
The website has instructions on how to use them.
Step 3: Boot from the USB device #
- Navigate to the bios of your computer.
- Change the boot order to boot from the USB device first.
- Save and exit.
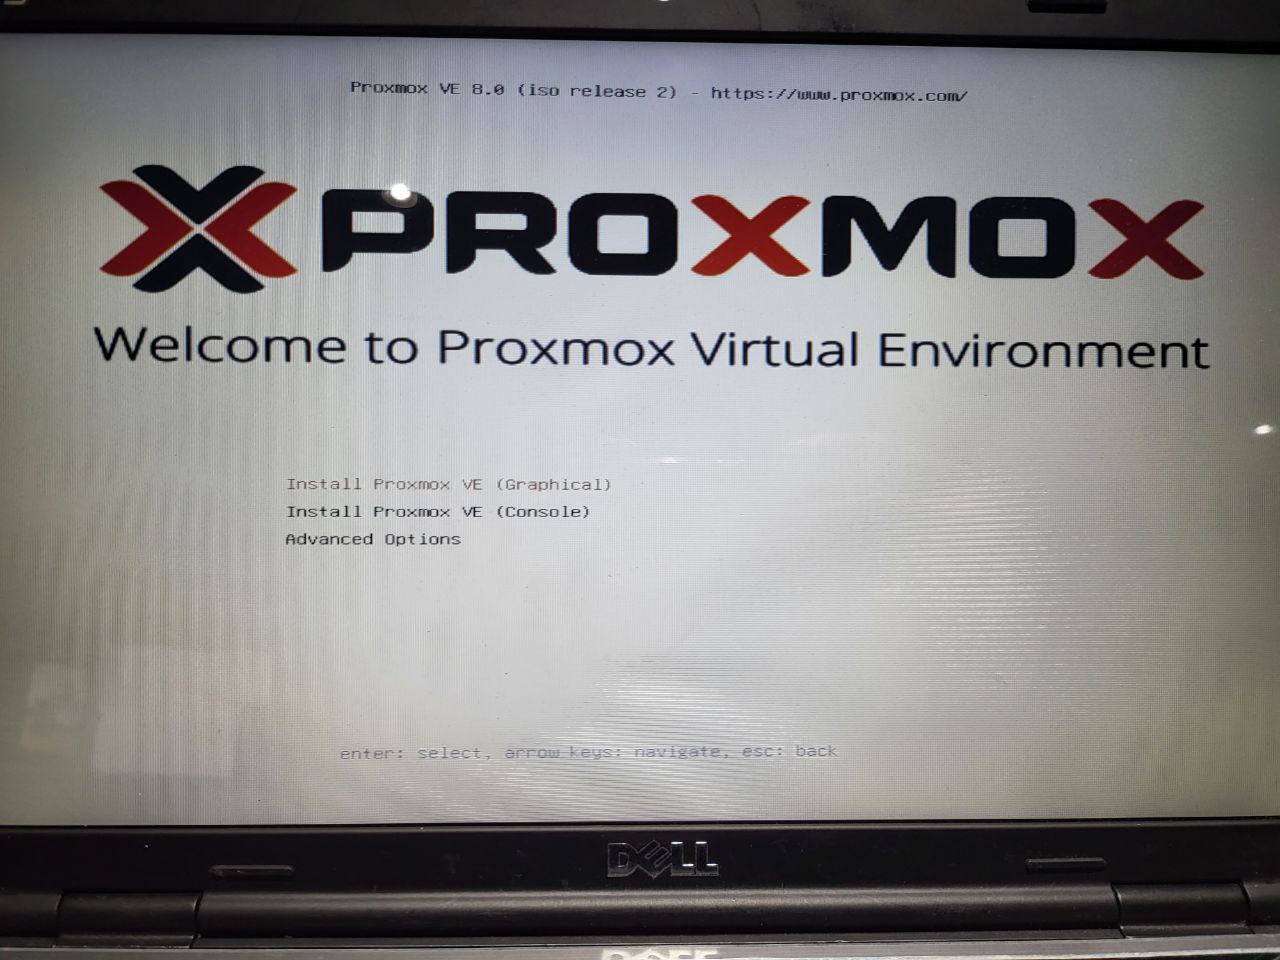
- Restart your PC and it should boot into the USB drive. You will see a screen like the one above
- Select Install Proxmox VE (Graphical) and press enter.
- Follow the instructions and wait for it to finish.
Step 4: Login to Proxmox #
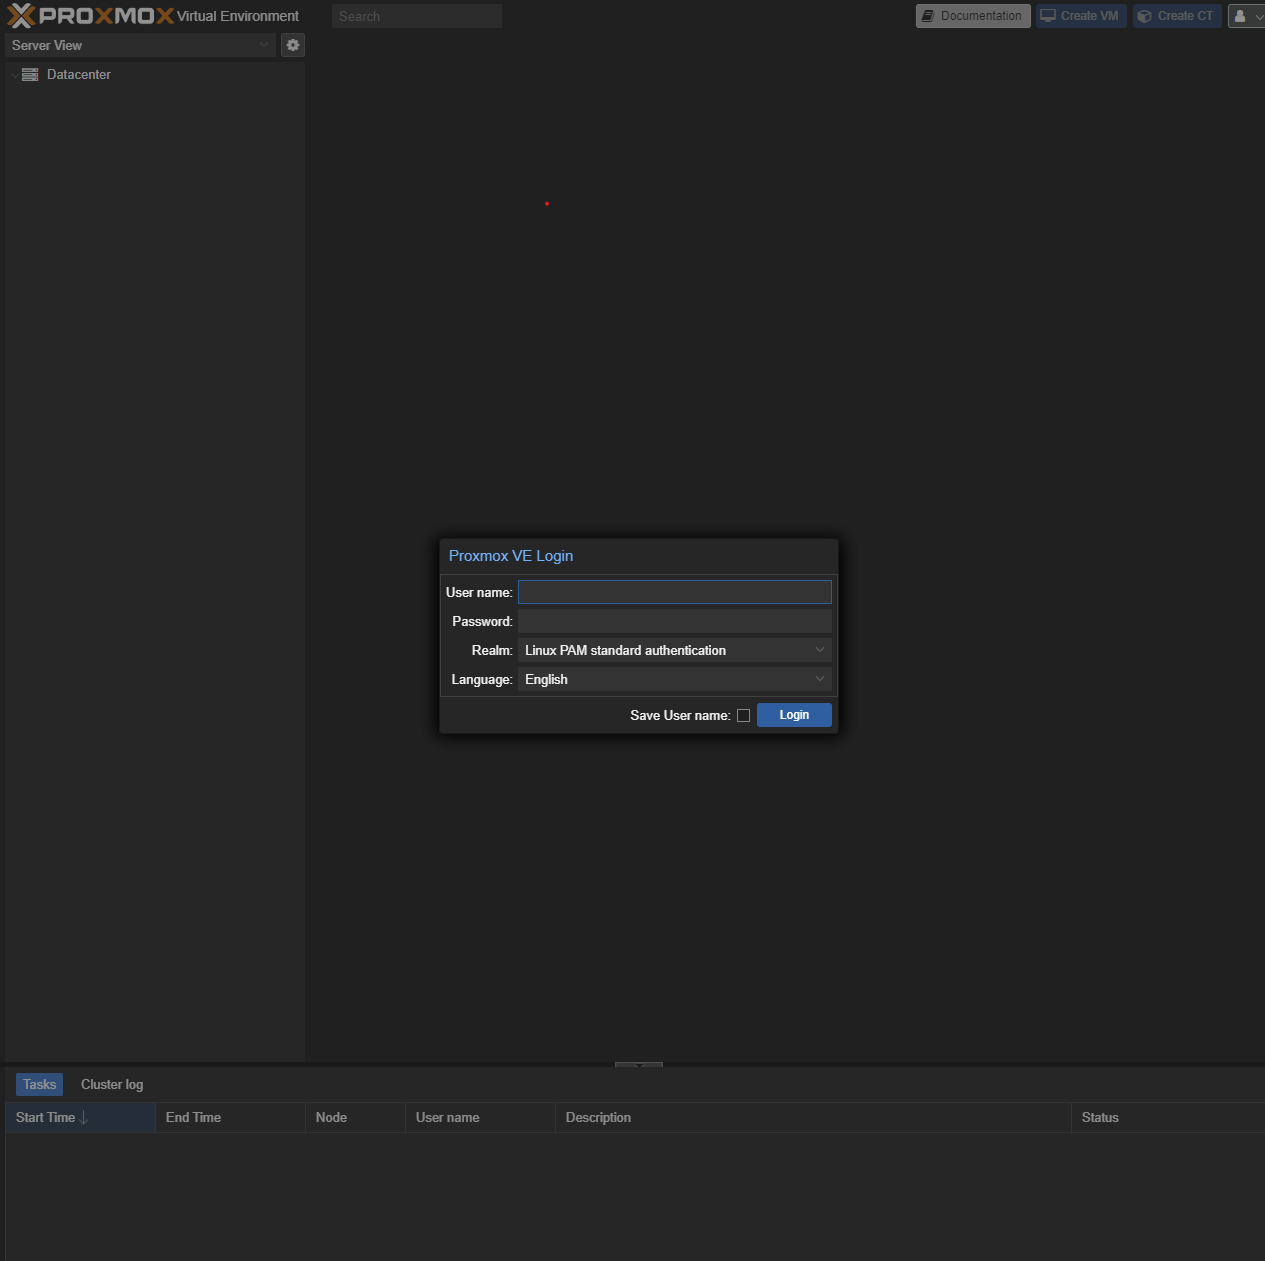
- Access the ip/fqdn of your Proxmox server in your browser.
- The username is root and the password is the one you set in the installation process.
- Once you are done, Proxmox is set up.
Update Proxmox from Version 7 to Version 8 #
If you installed version 7 of Proxmox, you can update it to version 8 by running the following commands in the shell section of the web interface:
pve7to8 --full
Follow the instructions step by step and wait for it to finish. Now you will be on Proxmox version 8.
Updating your Proxmox Installation #
To upgrade your proxmox installation, I recommend opening the shell section of the web interface and running the following commands:
bash -c "$(wget -qLO - https://github.com/tteck/Proxmox/raw/main/misc/post-pve-install.sh)"
The command is retrieved from tteck Github.
Please ensure that you are on Proxmox version 8 before running the command.
This will download the script and run it. It can do the following
- Correct Proxmox VE Source
- Disable Enterprise Repositories
- Enable No-Subscription Repository
- Enable Ceph Repositories
- Enable PVE Test Repositories
- Disable High Availability (HA) Repositories
- Updates Proxmox VE to the latest version (This step may take a long time ~15 minutes)
- Reboot the system
Uploading ISOs #

- To Upload ISOs, click on the local storage on the left
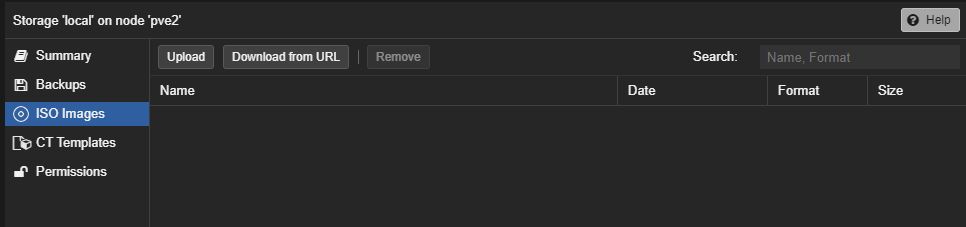
- Click on the upload button and upload the ISOs that you want to use for your VMs.
Creating VMs #

- Click on the create VM button.
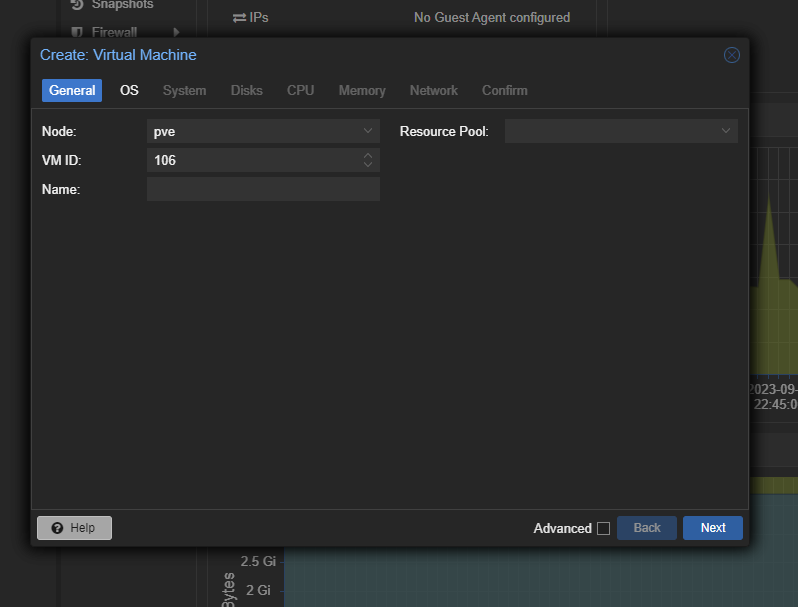
- The name here refers to the name of your VM.
- Step through each of the pages and configure the VM to your liking
- Once you are done, click on finish and the VM will be created.
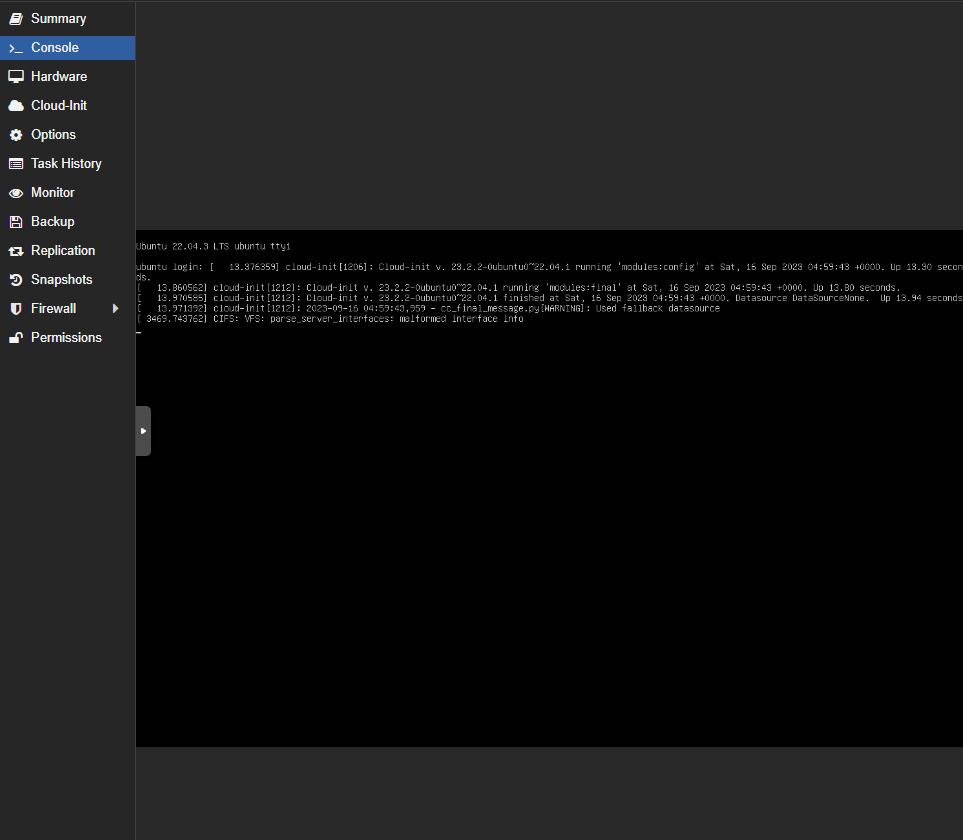
- You can access the VM using the console button when you click on the VM that you created.
Conclusion #
I hope that this blog post has helped you to setup Proxmox.