Home Lab: Pi Hole
Table of Contents
As part of my home lab series, I will be writing a series of blog posts on how to set up different home lab components. In today’s blog post, I will be writing about how to setup Pi Hole.
What is Pi Hole? #
Pi Hole is a DNS sinkhole that blocks ads on your network. It acts as a DNS server between your devices and the internet.
It contains many features, listed below (non-exhaustive):
- Block websites in a network wide format
- Local DNS records to resolve to your local services
- Improve network performance
- Analytics of your network
- Run your DHCP Server
How does it work #
There are 2 different situations when we query Pi Hole
- When we query a website that is not in the block list
- When we query a website that is in the block list
Query a website not in the block list. #
This also applies when we set a local CNAME record to resolve to a local service.
- Our Client devices will query Pi Hole for DNS resolution.
- As the website is not in the block list, Pi Hole will forward the DNS query to the DNS Server.
- The DNS Server will respond with the IP address of the website.
For more information on caching, please refer to this page.
Query a website that is in the block list. #
- Our Client devices will query Pi Hole for DNS resolution.
- As the website is in the block list, Pi Hole will respond with an empty query.
- This will cause the client to not be able to connect to the website.
Setting up Pi Hole #
In this tutorial, I will be showing you how to setup Pi Hole through a docker container.
Prerequisites #
- A host with the following ports
53/udp(used by DNS Service) - Docker installed on the host
Step 1: Run the docker command #
docker run -dt --name pihole \
    -p 53:53/tcp \ # Port of DNS service
    -p 53:53/udp \ # Port of DNS service
    -p 80:80 \  # Port of the web service that you want.
    -e TZ="Asia/Singapore" \ # Timezone of your location
    -e FTLCONF_LOCAL_IPV4="<ip_addr_of_host>" \ # IP address of the host
    -e WEBPASSWORD="password" \ # Password for the web interface
    -v "$(pwd)/etc-pihole/:/etc/pihole/" \ # Volume for Pi Hole configuration
    -v "$(pwd)/etc-dnsmasq.d/:/etc/dnsmasq.d/" \ # Volume for DNSMasq configuration
    -restart=unless-stopped \
This command will run the docker container in the background. Wait for a few minutes for the container to start up.
Step 2: Login to your Pi Hole instance #
Access the web interface at http://<ip_addr_of_host>:<mapped_port>/admin/ and login with the password that you have set in the docker command.
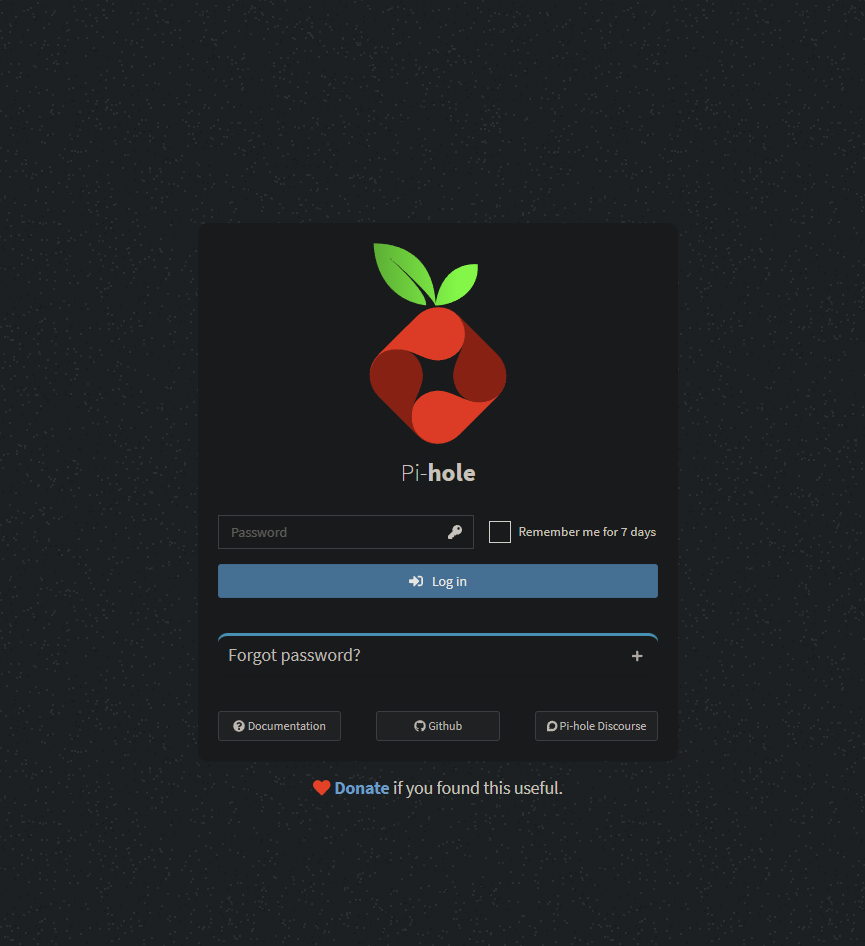
Login with the password that you have set in the docker command.
Step 3: Configure your Pi Hole (Upstream DNS Servers) #
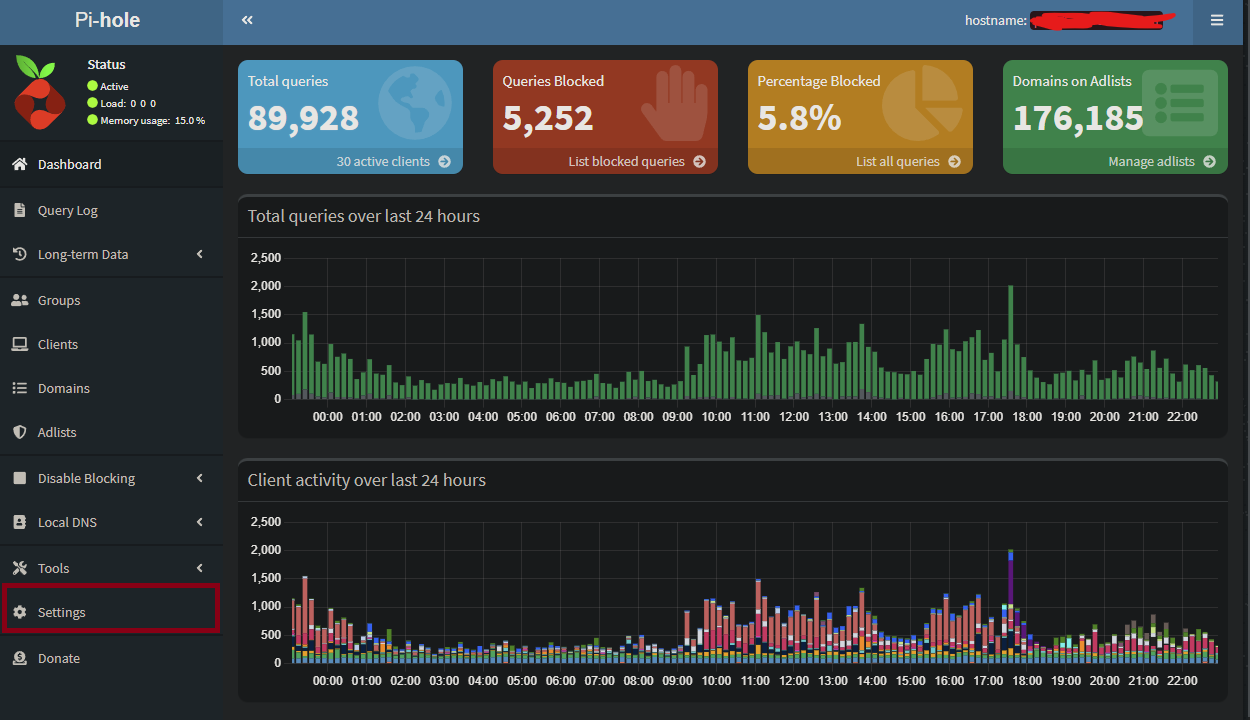
After logging in, you will see something like this.
Click on the Settings tab at the bottom left hand side of the page.
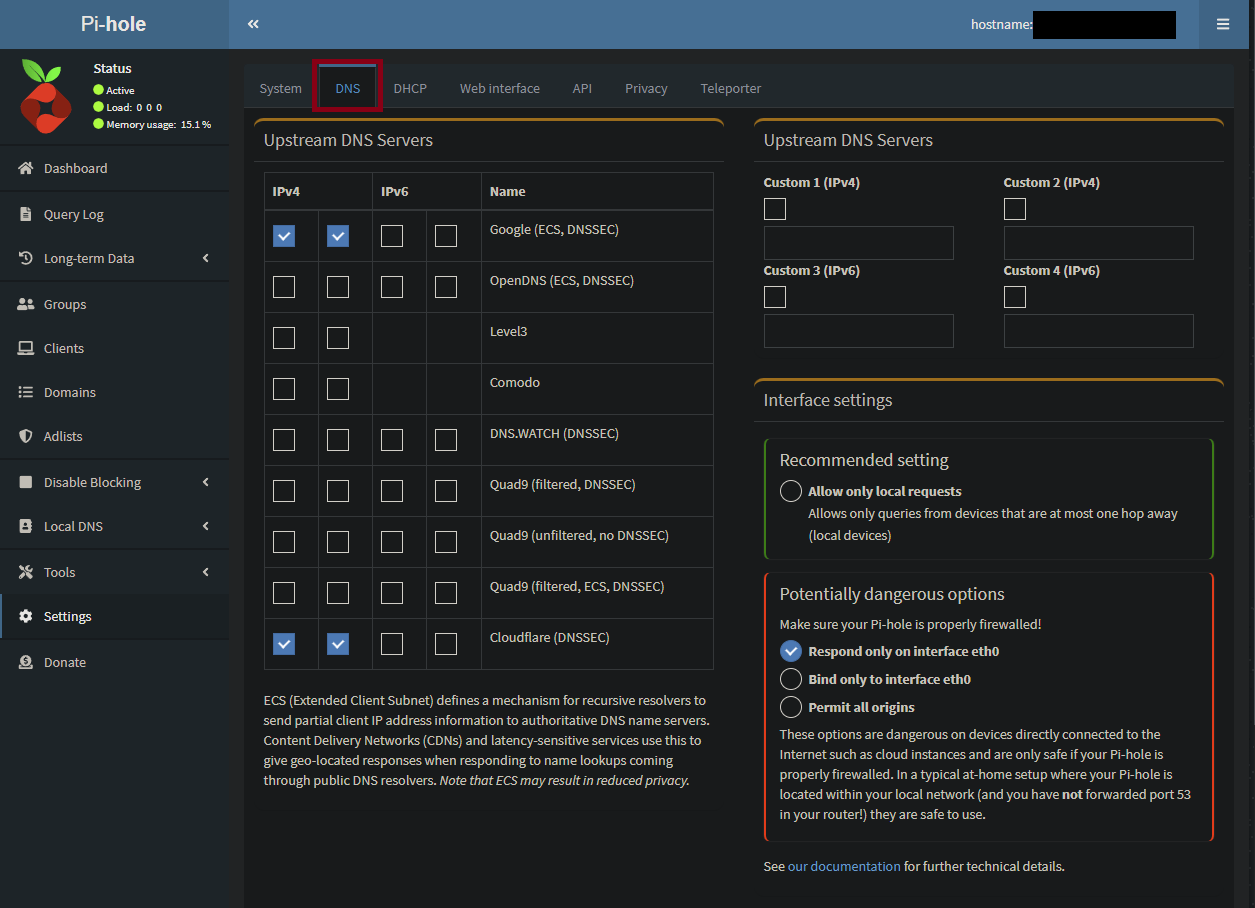
- Click on the
DNStab at the top of the page. - Edit the
Upstream DNS Serversand update the different DNS services that you want upstream.
Step 4: Adding Local DNS Records #
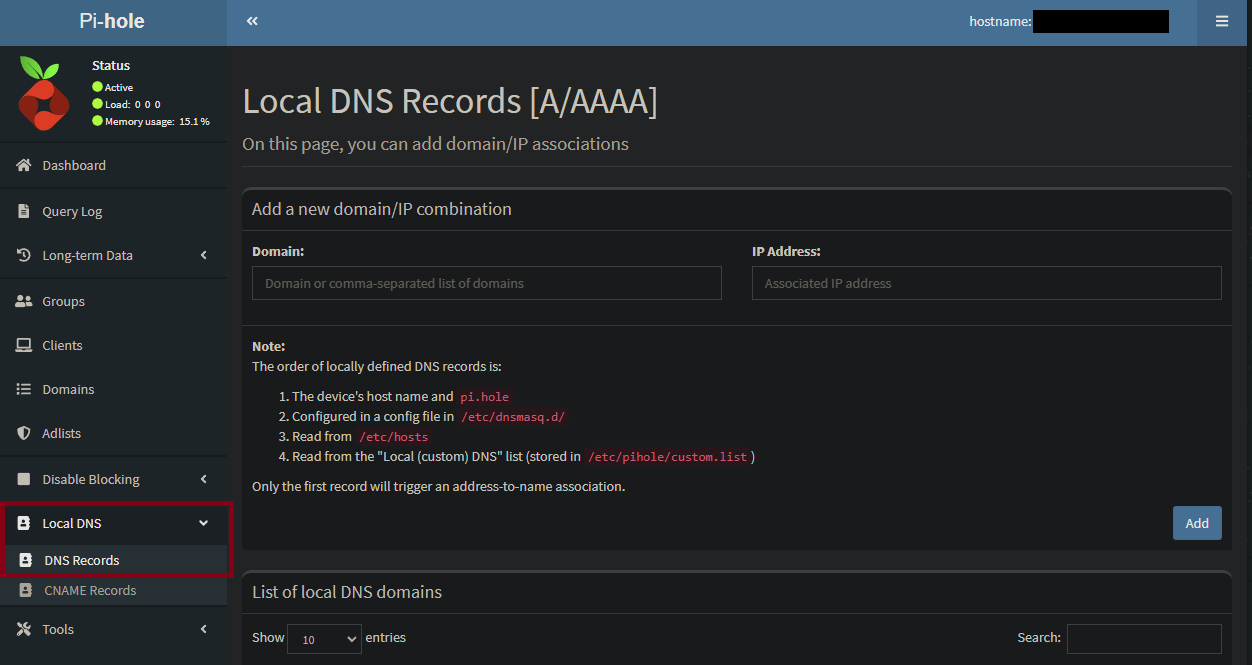
- Click on the
Local DNS Recordstab at the side of the page. - Click on
DNS Records - Fill up the domain and IP address that you want to resolve to.
- Click on
Addand it should be added to the list.
Step 5: Configure your router to use Pi Hole #
This step depends on your router. For this example, I will be showing how to do it on an ASUS router.
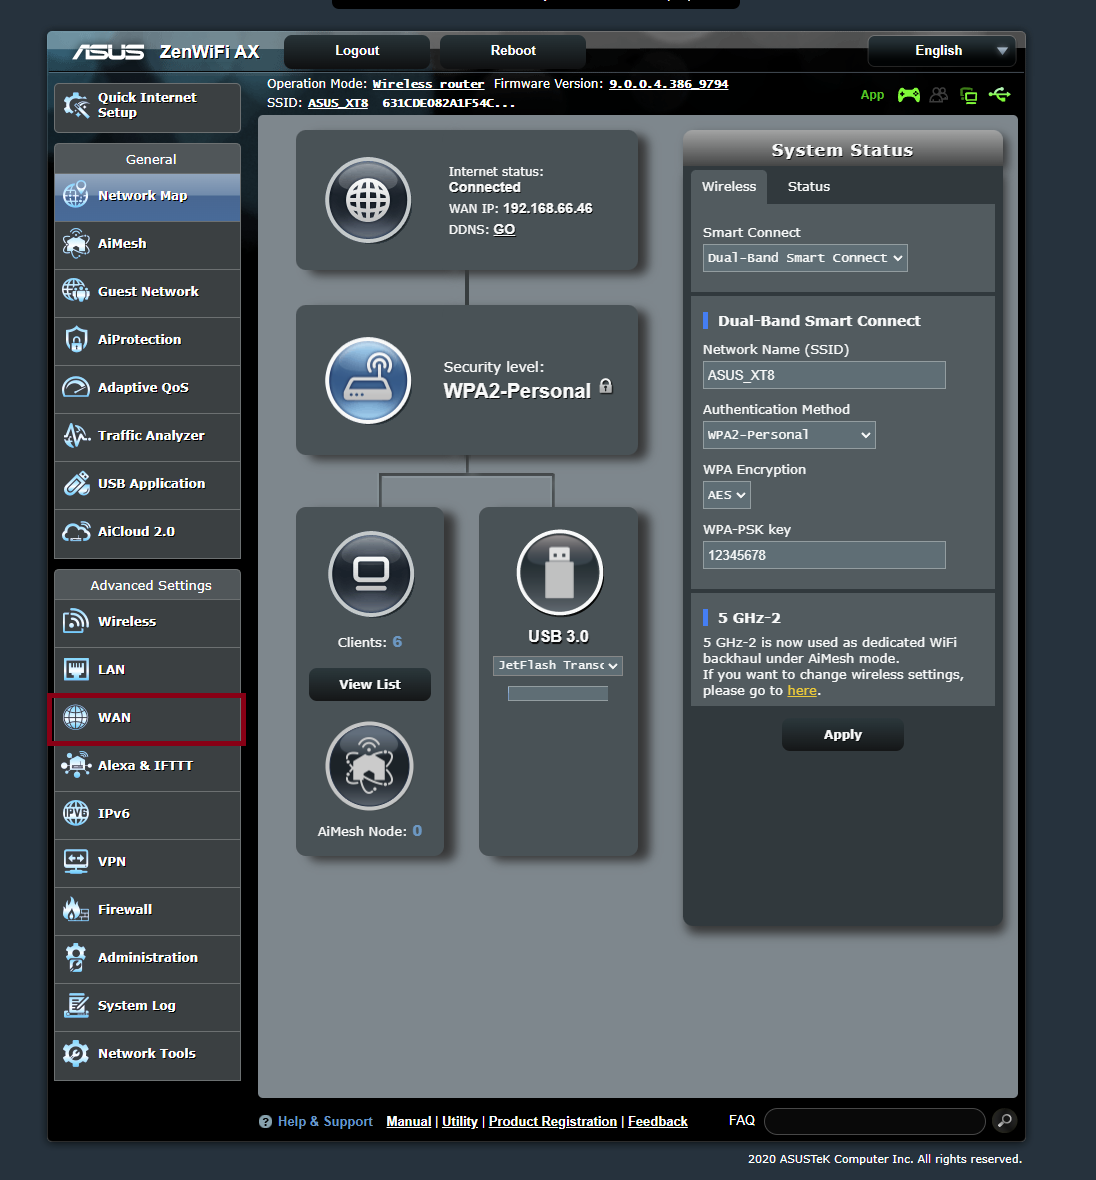
- After logging into the router, you will be greeted in this main page.
- Click on WAN at the side of the page.
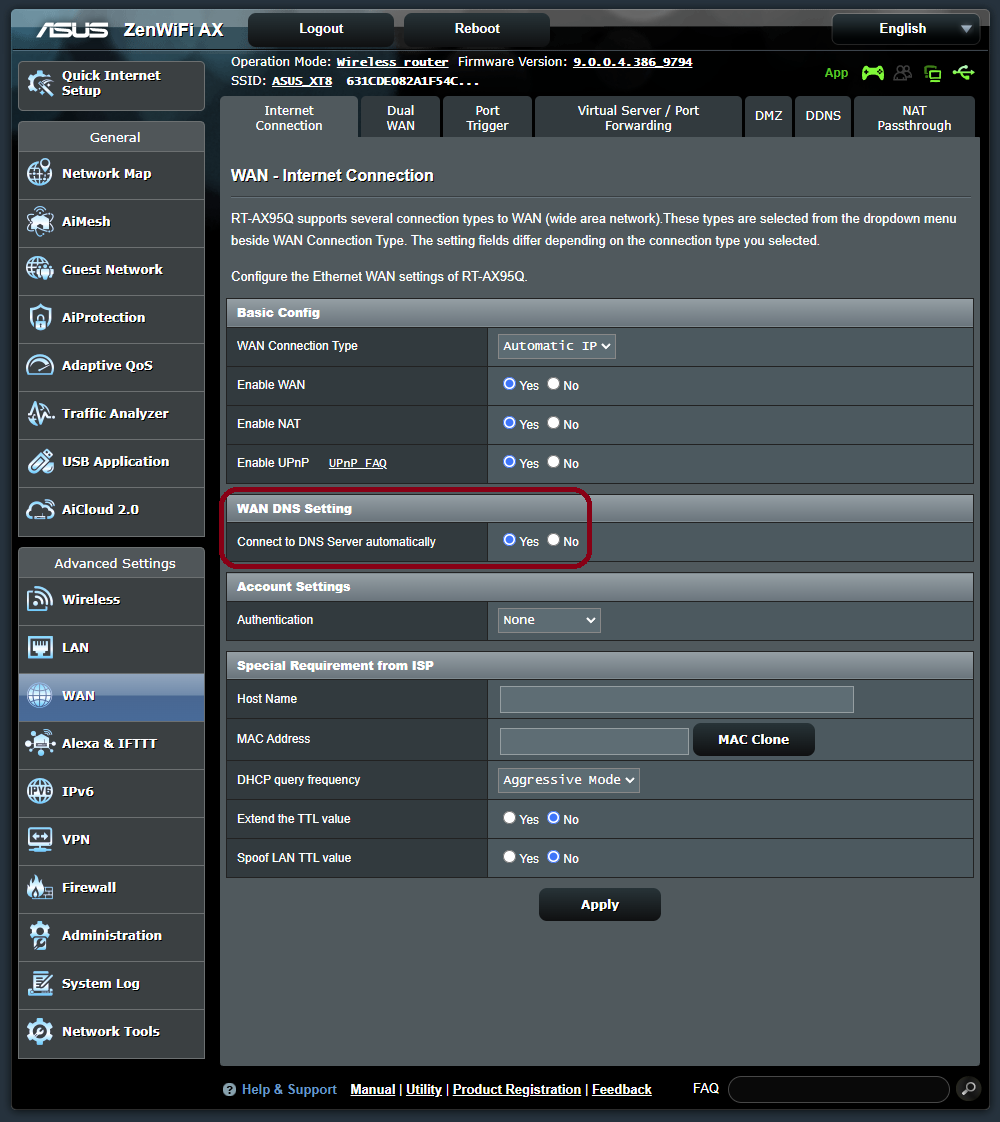
- Click on
NoforConnect to DNS Server automatically - This should reveal a new option to specify your DNS Server
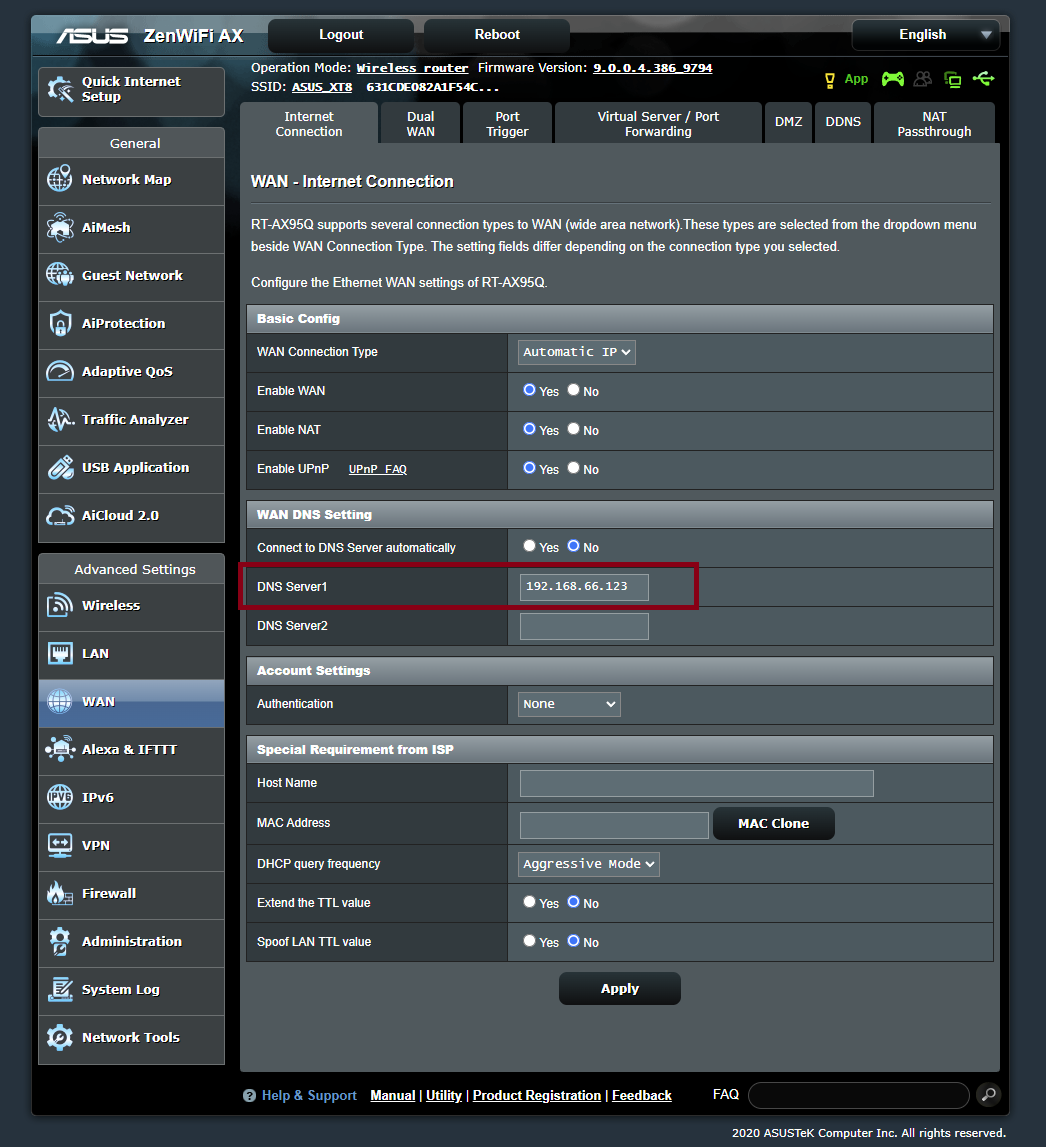
- Fill up the DNS Server with the IP address of your Pi Hole instance.
Note: Please do not key in an alternate DNS Server it will cause the router to query either DNS Servers randomly.
Conclusion #
In this blog post, I have shown you how to setup Pi Hole on your home network. I have also shown you how to configure your router to use Pi Hole as the DNS Server.
Through this, you will be able to block ads on your network and also resolve to your local services.