- Jh123x: Blog, Code, Fun and everything in between./
- My Blog Posts and Stories/
- How to View and Deploy a Website on Web3/
How to View and Deploy a Website on Web3
Table of Contents
Recently, I stumbled upon an article talking about how web3 can be useful in the future. During my search, I stumbled upon an interesting website Point Network.
They claim to be the first browser which can browse the web in “web3”.
Their main goals are as follows #
- Stopping Censorship: Making the infrastructure on Web3 makes it uncensorable
- Stopping Service Algorithms: The algorithm which makes the website work is open source and available online.
- Stopping Surveillance: Make connections encrypted so that no one can see what you are doing.
How are they doing this? #
The main approach they have adopted is to decentralize every major component of the legacy internet, IE: DNS, Storage, Identities.
To make this reality, they have a suit of applications and websites deployed on Web3. Here is a list of their items
- Point Browser: A browser that allows you to visit websites on Web 3
- Decentralized Domains: A free
.pointdomain on Web 3 after you have created an account on the network (As well as all subdomains) - Point Storage: A decentralized storage network that allows you to store files on the network (Powered by Arweave)
- Point Social: A web3 social media platform that has no algorithms, censorship or personal data breaches
- Point Mail: An email services that runs on Web 3 that has end to end encryption (Claimed to be safer than the famous ProtonMail)
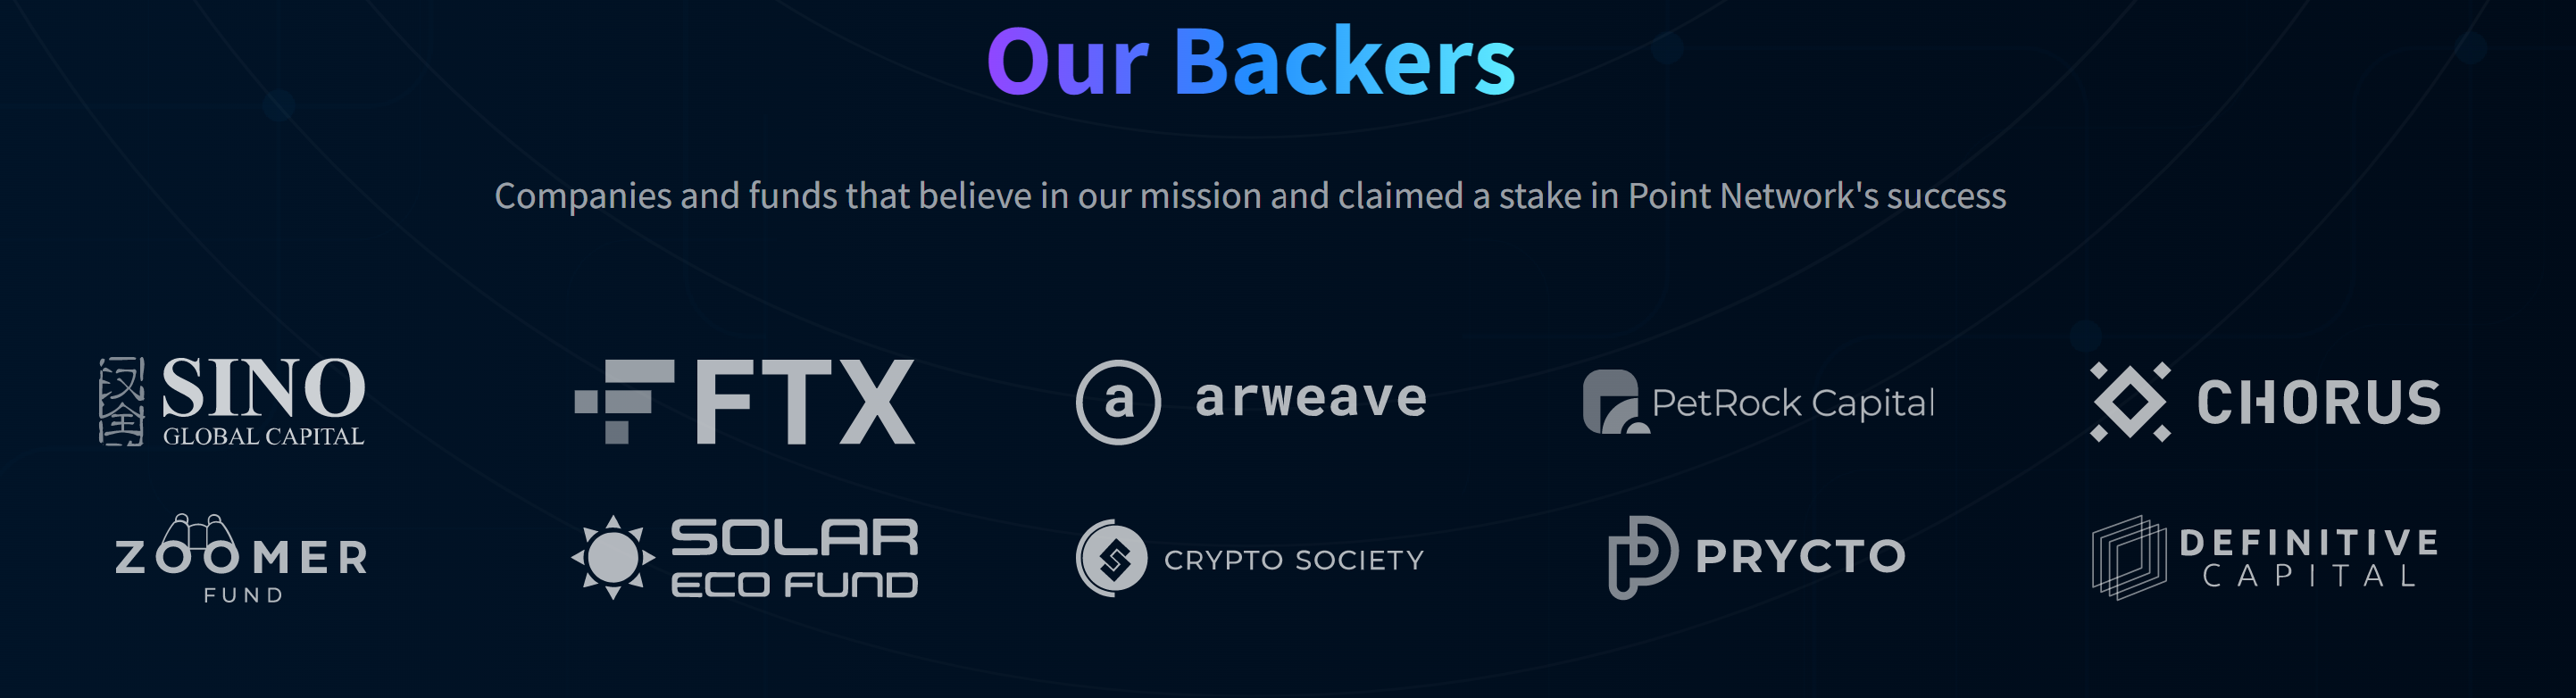
They are backed by a variety of different companies / funds.
Note #
This blog post covers 2 parts
.pointbrowser. (First part)- Deploying a website on the point network. (Second part)
- Conclusion
How do I visit .point websites? #
Without further ado, let’s get started.
The first step to is to download their software suite.
1. Visit Point Network. #
2. Go to the downloads page #
When you visit the point network website, you will be greeted with the link below.

There is a button that says download alpha. Click on the Download Alpha button
3. Choose the version #
Choose the appropriate version for your operating system and click on download.

As I am a windows user, I will be clicking on the windows version.
4. Unzip the file and run the installer #
After the file is downloaded, unzip it and run the installer within it. This may vary depending on the operating system that you are running.
Follow the instructions on the installer to install the software.
After installing the software, click on the point icon and you should be greeted with the point dashboard.
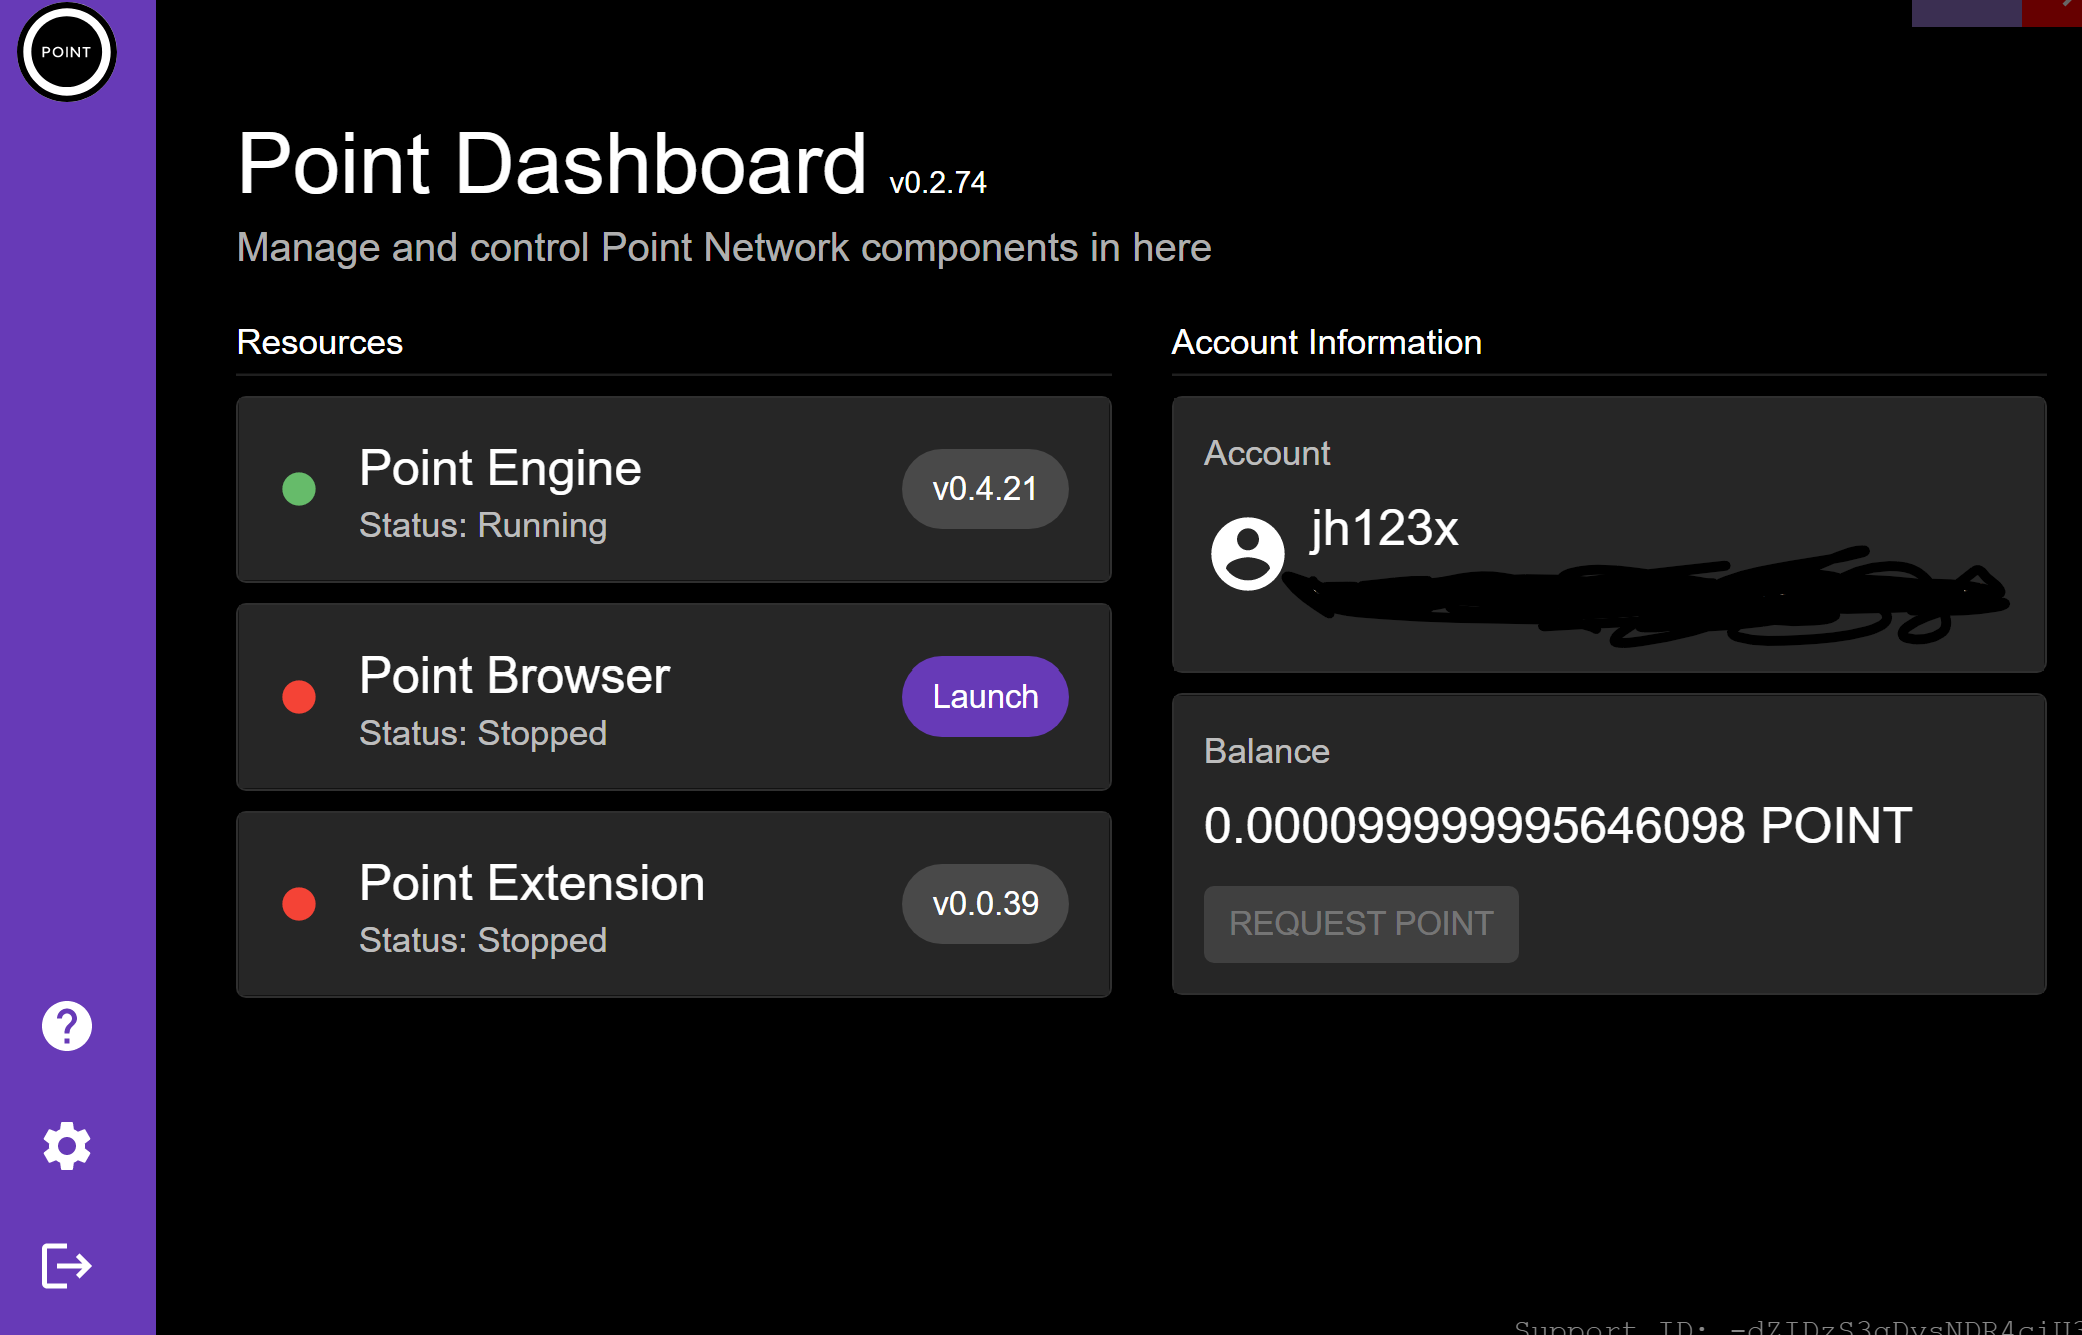
5. Create an account #
To create an account, you will have to launch the point browser and visit https://point (Note: This link can only be seen within the Point Browsers)
Follow the instructions on screen to make an account. It might take awhile on first startup to make an account so give it some time.
Welcome to Web3 Browsing? #
With that you can now visit the Web3 Internet. To see a list of websites available, you can visit https://point/zapps (On point browser)
How to deploy a website on Web3 #
Now that you can visit the website, you might be wondering how to deploy a website on the network.
If you prefer a video tutorial, you can refer to this video.
1. Add Point to path #
First, we will have to add point to path so that we can access it on our terminal.
If you click on the gear icon on the bottom right of the Point App, you will see an option to Add to Path.
If point is already added it will show the message similar to the one below. Otherwise click on the Add to Path button.
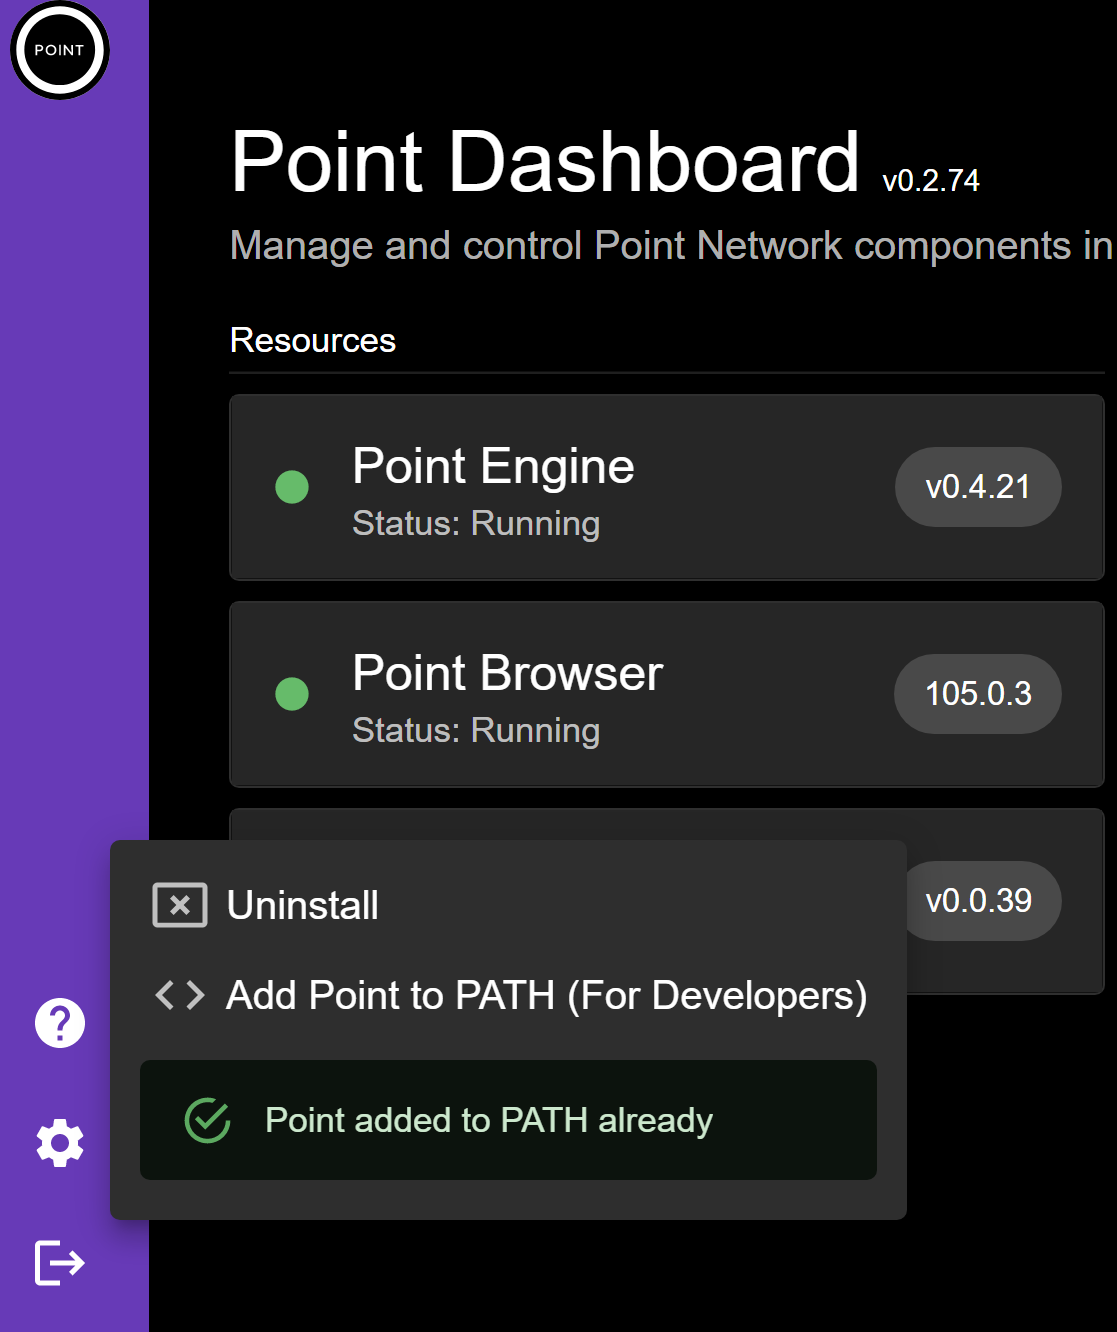
Note: For windows users, please restart after click on the button.
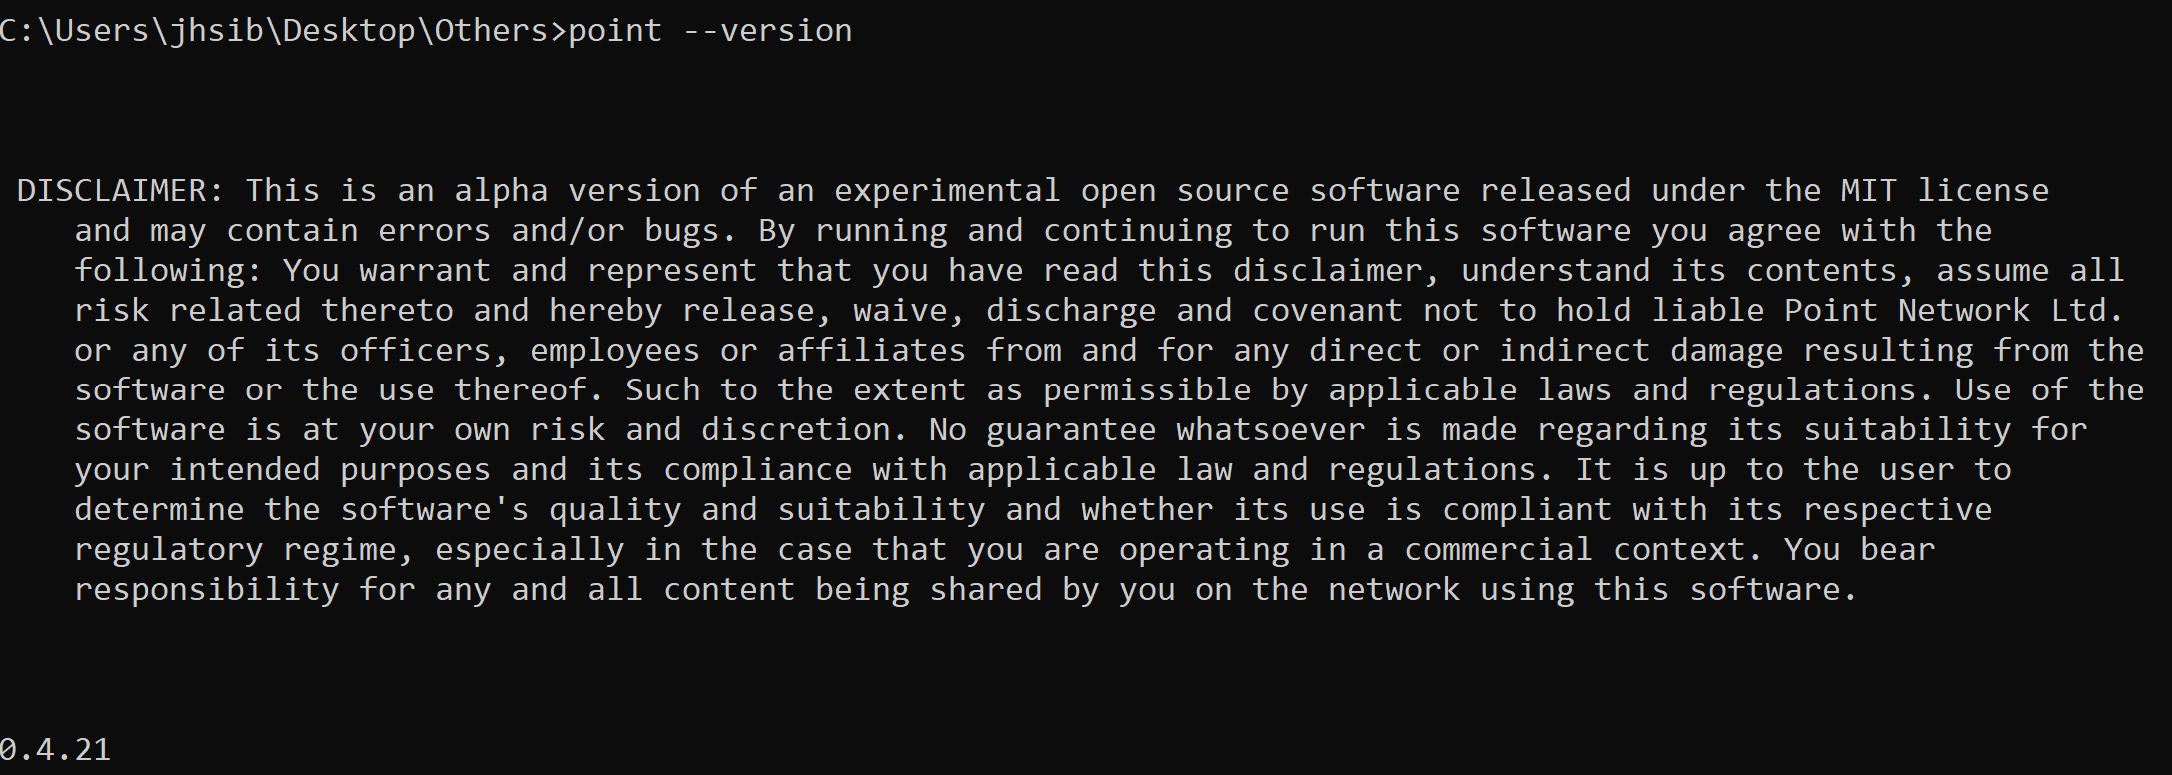
After that open your favorite terminal and type point --version and you should see the following message.
2. Creating files for making the website #
Now that we have point on our path, we can start making the website.
Navigate to your favorite folder to store the files and key in this command
point new <your domain>.point
This command might take awhile to run.
After this command finishes, you should see a new folder with your domain as the folder name.
You can edit the items in the file to make your website.
3. Deploying the website #
After you are happy with your website, you can deploy it to the network.
To deploy the website, key in the following command
point deploy
This will deploy your website to your domain.
4. Visiting your website #
To visit your website, open the point browser and key in your domain. Your deployed website should show up on screen.
Some usual problems.
If you do not see your website, you can try the following
- Restarting your browser and revisit the site again
- Wait a while and try again later
- Look at the console for any errors in deployment and rectify them
Now you have deployed your website to the point network!
Conclusion #
After seeing this browser in its current form, the technology seems great. However, there are some things to note.
- Depending on how often the browsers are updated, some old browser bugs related to firefox might still be present. (Thus, please do not visit suspicious links)
- The network is still in alpha and there might be some bugs that might cause your website to not work.
Nonetheless this is still an interesting project and I am looking forward to seeing how this pans out in the future.